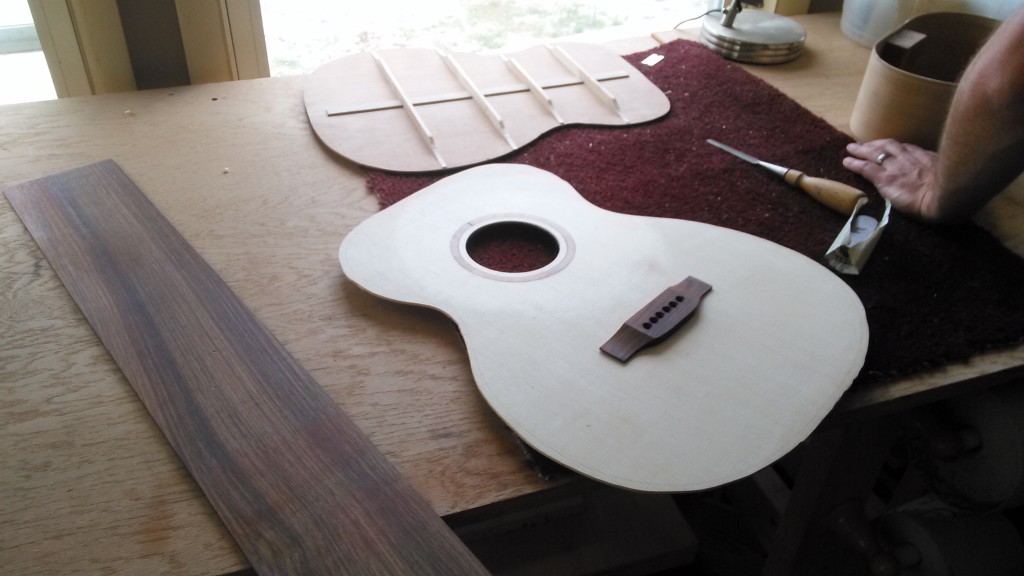
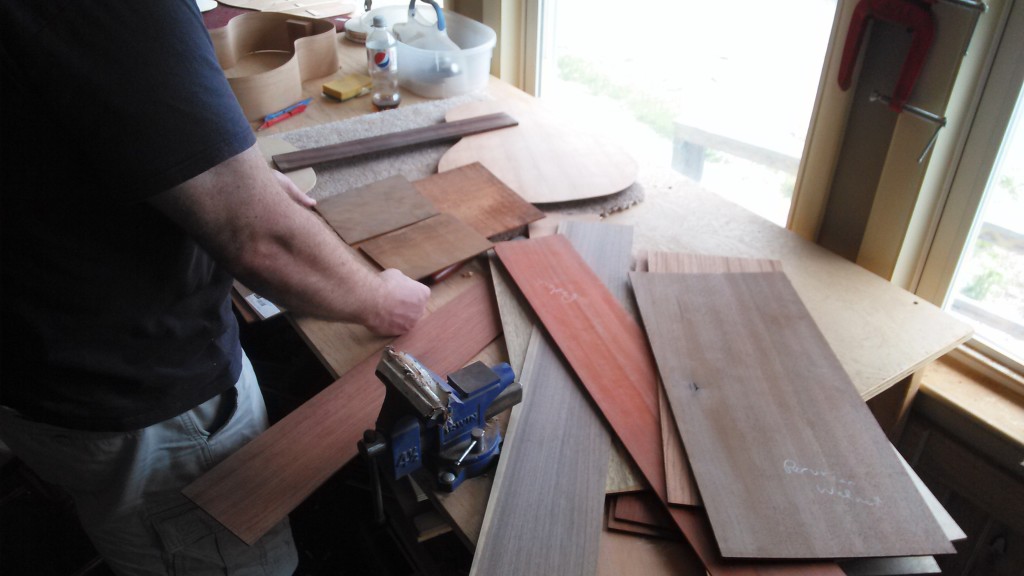
This article is intended as a basic primer into some of the acoustic, structural and aesthetic choices one must make when constructing a steel string acoustic guitar. The following includes notes on body dimensions, scale length, string spacing, fretboard radius, neck profiles, fretwire size, wood selection and bracing.
Guitar players and woodworkers, amateur and professional alike, will hopefully gain some insight from this. So enjoy!
Body Dimensions
Volume, tone, and to some degree, playability are all factors for consideration when determining the overall body dimensions for a guitar. There are many dimensions to look at (upper bout, lower bout, waist, body depth, overall length etc.) but the width at the lower bout is a good starting point for establishing your tone, volume and playability based on what style of music you intend on playing.
Lower bout widths range from about 14″ to 17″, ignoring extreme cases.
Guitars in the 14″ and 15″ range :
These are your Grand Concert, Auditorium, OM, and 000 models. They tend to be bright in the 14″ range and more focused and balanced from bass to treble in the 15″ range. Without the boom of larger, more bass heavy models, which often creates feedback in live or recording situations, guitars in the 14″ and 15″ range are often preferred by recording artists.
Folk artists and singer-songwriters enjoy the tamed bass response and lower volume necessary for singing along in the 14″ range.
Solo instrumental styles, such as the increasingly popular percussive fingerstyle genre, expect a balanced guitar from bass to treble such as Auditorium and OM sized models in the 15″ range.

Student Aaron Cromie uses a mold for his guitar body. Similar to an OM, the lower bout is 15.25″, the upper bout is 11.5″, and the waist is 9.5″.
Guitars in the 16″ and 17″ range:
The ever popular Dreadnought models are in the 16″ range. They have a heavy bass response and are preferred by bluegrass flatpickers who desire the ability to play with a heavy attack without distorting the sound.
Furthermore, bluegrass flatpickers are often competing for stage presence in un-miked situations with fiddles, mandolins and other acoustic instruments. The larger volume of the larger body cavity helps them to cut through all the sound.
Then there are Jumbos. These behemoths have lower bout widths close to or exceeding 17″. They are known for their bass heavy, powerful tone, often heard in acoustic blues music. Personally, I was never a Jumbo player or builder myself, so I won’t say anything else about these monsters of the guitar world.
Scale Length
Scale length is better understood as the speaking length of the string. This is the distance from the leading edge of the nut to the saddle.
All you have to remember is:
The shorter the scale length; the lower the tension
To better understand this, try this experiment with your guitar:
Tune your guitar to standard tuning (EADGBe). Now place a capo at the first fret. You have just effectively shortened the scale length. What happens to the pitch? Every string goes up a half step (F,A#,D#,G#,C,F). In order to play the guitar at standard tuning again with the shortened scale length you must tune down, thus decreasing the tension on the strings.
So what are the pros and cons?
Short scale/decreased tension
Lower tension allows for easier bends. This is, of course, highly desirable for blues musicians.
However, if your playing style does not use a lot of bends, especially whole note bends, then playing a short scale/decreased tension guitar can be frustrating, as fretted strings can bend just slightly out of tune accidentally.
Long scale/increased tension
Higher tension produces a brighter, more focused tone with more projection and clarity.
The increased tension can be harder on the hands and make fretting more difficult for the novice, but as mentioned above, the novice will have an easier time keeping fretted notes in tune.
String Spacing
The string spacing is set at the nut. A good luthier will take the thickness of the strings into account when measuring out the spacing. If, for example, the strings were marked out equidistant to each other from their centers, then you would have more crowded strings on the bass end due to the larger diameter of the bass strings. This situation is not desirable to most players.

Student David Shelly sets the string spacing at the nut to compensate for the thickness of the strings.
String spacing at the nut is not the same as the string spacing at the saddle. This is because most fretboards are tapered; wider at the soundhole and narrower at the nut. The string spacing at the nut, width of the fretboard at the nut, and the taper of the fretboard are all considerations based on player preference.
Fretboard Radius
Classical guitars generally have flat or nearly flat fretboards.
Steel string guitars generally have radiused fretboards ranging from 7.25″ to 20″. This is a response to the increased tension of steel strings. The curvature of the board allows for easier barring of chords. How much or how little curvature is simply a matter of preference and the only way to find out what you like is to experiment at both extremes.
All you have to remember here is:
Smaller radius = more curvature
larger radius = flatter
Neck Profile
The feel of a stringed instrument can be drastically altered by decisions made at this stage of the build.
I hand carve the neck of each and every single guitar I make without templates of any sort, so that every guitar neck has a truly unique profile, depth, width and taper.
That is why it pains me to write such a gross oversimplification of the neck, but for the sake of brevity I think it is necessary.
For this reason I will present 3 common neck profiles for the reader to consider:
The C
The C neck has a smooth, continuously consistent curvature when viewed in cross-section. This typically fits better into smaller hands.
The D
The D neck is thicker in cross section with the curvature beginning further out from the fretboard. This typically fits best into larger hands.
The V
The V is just that: 2 flat edges coming to a point right where the player’s palm meets the neck. This is less common than the other two styles.
Many guitar necks fall somewhere in-between the C, D and V and can be described as a “medium D” or a “soft V” or a “[insert adjective] C”
You get the point.
Usually the best neck profile for a player lies somewhere in-between. For example, some players wouldn’t like a V neck for its hard edges but would like a “soft” V.
Fretwire
Fretwire comes in medium, wide, narrow, jumbo, small, tall and in combinations such as “medium wide.” The terms are all kind of subjective as they vary from manufacturer to manufacturer.
There are just a few important things to note here:
Taller frets allow the player’s fingers to have less contact with the wood of the fretboard, thus reducing friction. This may be important if fast licks are your thing.
Also, tall fretwire is good for the longevity of the instrument. You know those pits and grooves that develop in your frets after years or sometimes just months of playing? Well, taller frets means you can have more fret levels before a refret is necessary.
The downside of tall frets is that your notes can bend slightly out of tune if you press very hard.
The truth is that notes can bend slightly out of tune on any fretted instrument if you press too hard but the degree of out-of-tuneness (Yes, I said out-of-tuneness) is notably higher on taller frets.

Student Chris Pulli hammering “medium” fretwire into his fret slots. The width is .084″ and the height of the crown is .039″.
Neck Wood
The neck accepts a considerable amount of tension. The scale length, the string gauge and the pitch of each open string all factor into the overall tension on the system. The amount of tension can vary considerably from instrument to instrument but for the sake of this explanation let’s just ballpark it at 200 lbs.
With 200 lbs +/- of resting tension, the chosen wood for the neck must be strong. If strength were the only consideration then the decision would be simple: Maple or Oak.
However, strength-to-weight ratio is really what we as luthiers are seeking; High strength with low weight. This disqualifies Oak for its heaviness. Maple, while still used on some guitars, especially electrics, is good but not ideal.
While there are many suitable options, the wood of choice for most builders is Honduran or African mahogany. Not only does this wood have a great strength to weight ratio; it also holds up well to environmental changes, as anyone who has ever turned a truss rod knows is another important consideration.
This does not mean that there are not many other great options available for neck woods. Mahogany is simply the most common. There is Cherry, Walnut, Maple, Rosewood, Sapele and too many others to list.
Soundboard Wood
Consider this analogy: If the body of a guitar is a speaker box, then the back and sides are the cabinet and the soundboard (top) is the speaker cone.
If the soundboard is like the speaker cone then it reasons to think that the soundboard should be constructed in a way and with such a material as to be lightweight, flexible and resonant.
Spruce, especially Sitka Spruce, is by far the most common choice amongst builders. Redwood, Cedar, Douglas fir, Aspen and other softwoods make up a much smaller percentage of the guitars in the world today, probably less than 5% (Someone please challenge me on that number. It is just an educated guess).
Back and Sides Wood
The wood for the back and sides traditionally comes from the same source as a “set.”
This means that the wood supplier or the luthier will use matching plates of wood from the same section of the same tree. Therefore, the grain pattern should be relatively consistent between the “bookmatched” pairs of the back and the sides. This results in an instrument that is acoustically, structurally and aesthetically symmetrical.
An important consideration for the side wood is how well it holds up to bending by heat. Depending on the species, the wood needs to be thicknessed down to 0.085″ +/-, soaked or sprayed with hot water, and then very slowly, and carefully bent with competent hands on a hot pipe or placed in a specialty bending jig. The easiest wood I have found to bend is Cherry, and I would recommend that to a first-time bender.
The hardest woods to bend are those that are highly figured.
Bracing
The subject of bracing is way too involved to cover in a few paragraphs. It really deserves its own book. However, I will try to summarize some of the ideas behind bracing using the most popular steel string bracing pattern as an example: X-Bracing. We will break things down into structural and acoustic considerations.
Structural Considerations
The soundboard and the back were thinned out so as to be more responsive. However, They still have to hold up to a huge amount of tension. Remember that 200 lbs of string tension on the neck? Well that tension is more or less being split between the neck and the bridge. Imagine the whole guitar wanting to fold upon itself like a taco! The first thing the bridge has to do is spread that tension out to the sides to keep itself from ripping off the soundboard. The bridge achieves this through a system of trusses or “braces” whose primary goal is spreading this load out to the sides. This is the job of the X- Braces.
At the same time as the bridge wants to rip off the soundboard, the tension on the neck creates a torqueing effect on the fretboard tongue, which places some of the tension dealt out to the neck squarely onto the upper bout region of the soundboard. The Upper Transverse Bar and the Fretboard Graft spread out this load.
The Soundhole Braces connect the Upper Transverse Bar and the X-Braces so that the load from the fretboard tongue and the load from the bridge are connected to the bracing system as a whole. The Soundhole Braces also serve to strengthen the soundhole area because, well, there’s a giant hole there!
Another goal of the bracing system is to keep splits in the soundboard, sides, or back from spreading, if they happen. That is why braces always run either perpendicular to the grain or at an angle to the grain. Also notice that there are no large open areas without cross-grain bracing.
Acoustic Considerations
The X-braces carry not just the tension out to the sides, but also the sound. Every time a string is plucked, the sound travels through the dense material of the saddle, the hardwood bridge and the hardwood bridge plate to the softwood of the X-brace, where the tone spreads out to the rim, the finger braces and the aptly named Tone Bars. The entire soundboard is activated.
![IMG_20150413_160439[1]](http://www.ericschaeferguitars.com/wp-content/uploads/2015/10/IMG_20150413_1604391-1024x576.jpg)
Student Phil Dean’s Soundboard and back bracing. Notice the simplicity of the back bracing in comparison to the soundboard bracing.
Was this useful? I would love to hear your questions or comments! I try to answer every e-mail I receive, so please be patient with me ![]() eric@ericschaeferguitars.com
eric@ericschaeferguitars.com
Want more of this? Subscribe below for Weekly Guitar Making Tips on “The Small Shop Luthier Blog”
Want to learn more? Take a class with Eric Schaefer and build your own guitar in 8 days

![IMG_20151013_195401[1]](http://www.ericschaeferguitars.com/wp-content/uploads/2015/10/IMG_20151013_1954011-1024x576.jpg)
