Also see: Radial Rosettes: Making a Basic Pattern
Before we get started, if you want to save yourself the hassle you can purchase this jig here: https://www.ericschaeferguitars.com/the-radial-rosette-maker-kit/
Otherwise, read on:
Whether following plans from a kit or building from scratch, the rosette is an opportunity for the luthier to be creative and flaunt their artistic skills.
A rosette pattern designed with artistic discernment and then executed with the utmost precision is the envy of instrument makers everywhere.
So what is a radial rosette, you say?
Put simply, a radial rosette is a wood rosette with the grain or any striking figure/banding pointing inward toward the center of the soundhole. Even the most basic radial rosette (pictured below) is aesthetically striking in comparison to a solid wood rosette, where the grain lines run parallel to the soundboard grain.
It is actually a very quick and easy process to create the rosette pictured above if you have the right setup. And this is just the beginning of what you can do with your rosette pattern once you start thinking and designing radially.With this first part of “Radial Rosettes” I’ll go over what the “Radial Rosette Maker” is, the parts and materials for the Radial Rosette Maker™ and the dimensions of the final product so that you can build the jig at home. If you don’t want to fuss with that you can also purchase the jig here on this website. Scroll to the bottom of the page for information on purchasing.
Anatomy of the Radial Rosette Maker?
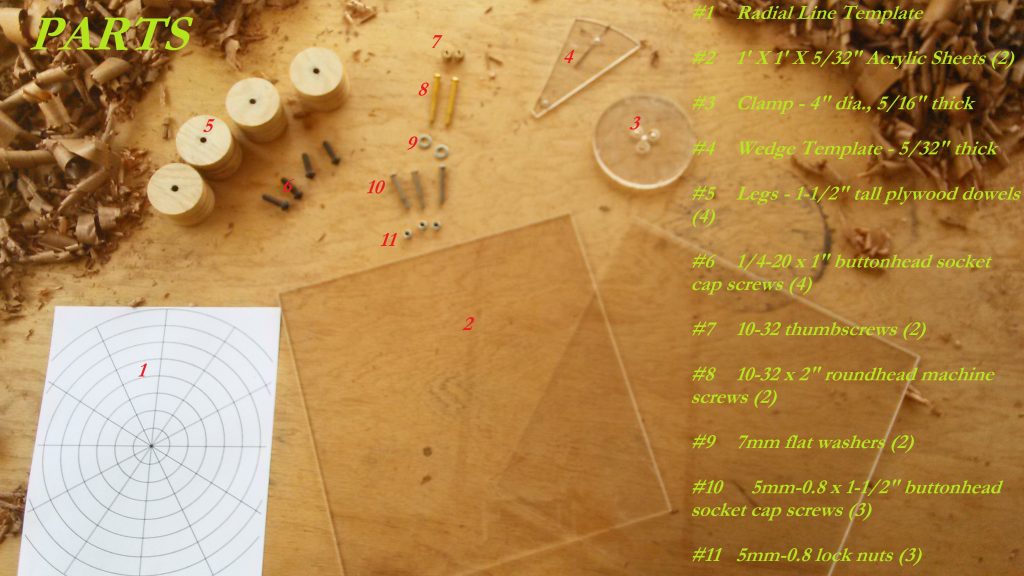
The “wedge template” is a tapered piece of 5/32″ acrylic that clamps down on the rosette material and provides the template/guide-bearing-surface for cutting out the individual pieces of the rosette pattern. I use a dovetail saw for the cutting.
The “clamp” holds the individual pieces in proper alignment for gluing and subsequent routing of the rosette.
The “trench” is a 1″ wide ring around the clamp that is relieved to 1/16″ in depth to allow for the dremel router bit to pass unobstructed.
Parts and materials
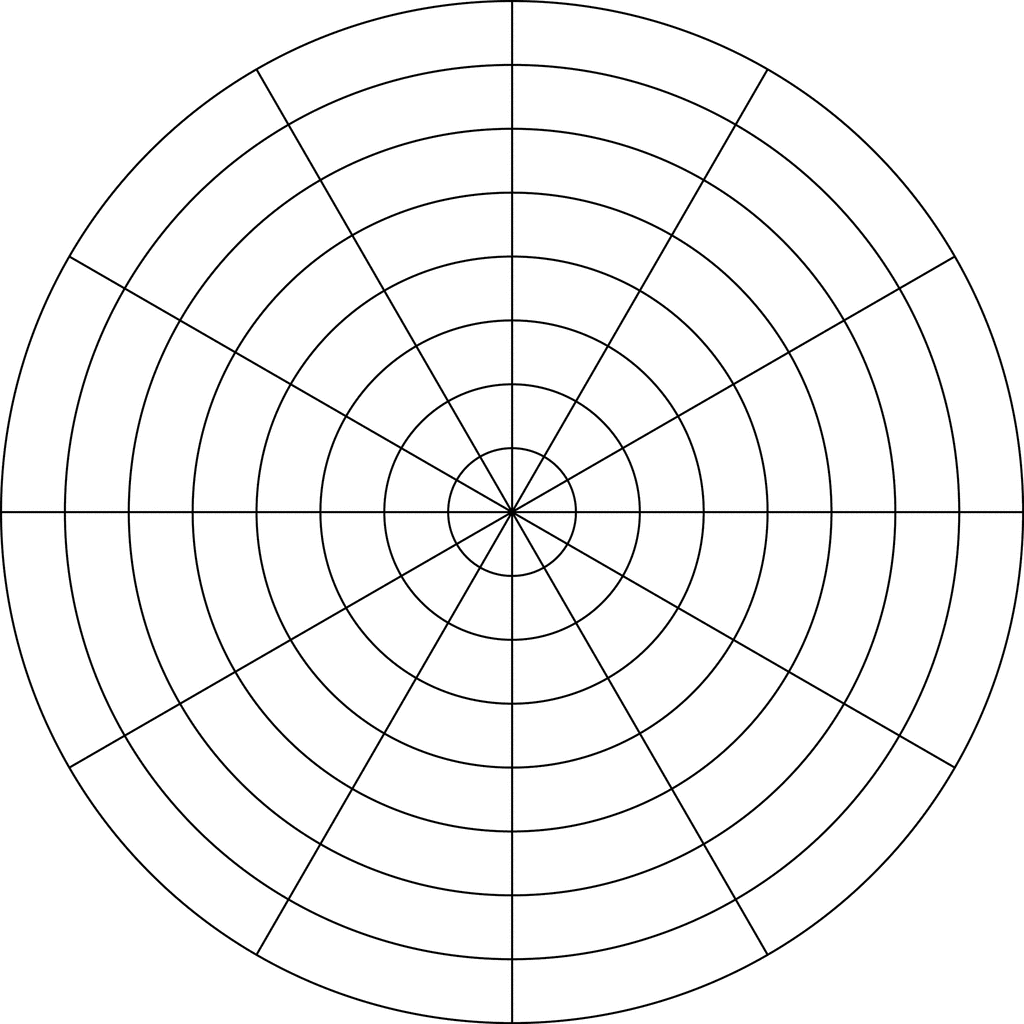
Radial Line Template
Print out the template and glue between 2 sheets of 5/32″ acrylic. I use CA glue because it doesn’t negatively affect the translucence of the acrylic, however, the alignment has to be perfect because the CA sets almost immediately. In this case, it makes sense to clamp 2 straight boards to your workbench at a right angle as stops. That way you can align the 2 sheets without any “swimming” in the glue. It is also wise to stick the template to one of the acrylic sheets with a small amount of double stick tape prior to gluing in order to prevent the template itself from swimming.
Dimensions
The acrylic should be cut to the below dimensions.
Building Notes
The 4 socket cap screws for the legs (#6 on the parts list), and the 3 socket cap screws for the “clamp” (#10) must be recessed in order to allow free movement of your circle cutting jig.
The 3 lock nuts (#11) are recessed into the bottom of the acrylic platform to accept the 3 socket cap screws for the “clamp”(#10). I rout out the recesses for the lock nuts carefully with a fine bit in a dremel tool to match their hexagonal shape. This way the lock nuts fit snug and won’t spin in their recesses when the socket cap screws are turned. I also add epoxy to the recesses.
The hole in the center of the “clamp” is for the pin that your circle cutting jig uses. In this case it is a 3/16″ hole because I use the Stewmac circle cutting jig which uses a 3/16″ pin.The “trench” is routed out last to 1/16″ in depth with several passes of a dremel on a circle cutting jig.
If this all seems a little confusing read on to Radial Rosettes: Making a Basic Pattern to understand how this jig works and come back to this page before attempting to build the jig.
For more info or to purchase this jig click HERE
Want to learn more? Take a class with Eric Schaefer and build your own guitar in 8 days
![IMG_20150817_012555[1]](http://www.ericschaeferguitars.com/wp-content/uploads/2015/09/IMG_20150817_0125551-1024x576.jpg)


![IMG_20150903_192252[1]](http://www.ericschaeferguitars.com/wp-content/uploads/2015/09/IMG_20150903_1922521-576x1024.jpg)


