Functionally, A lightbox is nothing more than a translucent, backlit work surface. Ordinarily this takes the form of a wooden box which houses a light source and has one face of clear Plexiglas or acrylic. This box can be pulled out when needed and stowed away for later use.
Installing a backlight directly into your regular worksurface, however, has the advantage of always being within arm’s reach, therefore promoting more consistent use and more diligent work habits; All the while, taking up less space.
As a luthier, I primarily use the lightbox for preparing the bookmatched pairs of the top and back plates for jointing and joining. The Plexiglas provides a flat surface for resting the plates and the backlight reveals poor mating of the centerseam, as seen in the picture below.
A more general function of the lightbox is to check any surface for true against a straightedge. This, of course, is useful to woodworkers and craftsmen of all types.
Last but not least, the lightbox does triple-duty as a “tracing box.” In this case, the backlight provides high contrast for designs to be traced out on tracing paper. In the picture below, I am tracing out an inlay design onto a peghead design.
Construction
First I traced the outline of my Plexiglas sheet (28″ X 28″) onto the work surface.
Then I inspected the joists below.
The workbench I used for this project is not a heavy duty, solid wood workbench typical of a woodworkers shop. This is more of a DIY projecter’s workbench with a plywood surface and 2 X 4 joists for support.
I removed the center joist in the picture below. This joist would only get in the way. The other two joists in the picture I re-located so that they were about 2 or 3 inches inside of the outline that I traced onto the work surface.
With a 1/2″ bit, I set my plunge router to the depth of the Plexiglas sheet.
I set a long sheet of plywood to act as a fence to guide the router. I adjusted the fence until it was set so that the cutting bit would run along the traced line. Then I clamped the fence in place and cut.
I repeated this for the other 3 sides of the square outline until my tabletop looked like this:
I continued routing out the recess to about 3″ inside of the outline. However, I should have cleared as much material inside the outline as the base of my router would allow, before moving on to the next step. As you’ll see in the following pictures, the extra material leftover is a little bit more difficult to remove after the opening is cut.
I drilled a hole large enough for my jig saw blade and cut as close to the 2×4 joists as I could.
This was the point where I wished that I had recessed more material with the router first. It wasn’t a huge deal, though. I just had to be careful and mindful of what the base of the router was being supported on while clearing the rest of the recess.
After the recess was cleared, I installed a straight cut bit with guide bearing into my router (in this case my laminate trim router) and set the depth so that the guide bearing would run against the 2×4 joists.
Using the guide bearing bit, I brought the opening in flush with the 2×4 joists.
I rounded the edges of my Plexiglas sheet and checked for fit. Perfect!
I installed a 2′ long LED light source, directly below the Plexiglas sheet and secured the Plexiglas in place with screws. The screwheads were recessed into the Plexiglas.
I drilled a hole through the front facing joist so I could run the wires to a switch.
The final result: A more efficient way to joint a large batch of bookmatched pairs and a less cluttered workspace! See Jointing and Joining the Plates for more info on how this is done.
Was this useful? I would love to hear your questions or comments! I try to answer every e-mail I receive, so please be patient with me eric@ericschaeferguitars.com
Want more of this? Subscribe below for Weekly Guitar Making Tips on “The Small Shop Luthier Blog”
Measure out and mark the center of the soundhole on the soundboard. I do this by tracing the outline of the form on the soundboard and measuring (in this case, 149 mm) from the top of the outline down the glue joint of the bookmatched pair. The jig on the left side of the picture is the Radial Rosette Maker which was used to make the rosette for this operation. You may want to see Radial Rosettes: Building the Radial Rosette Maker and Radial Rosettes: Making a Basic Pattern if you have not created your rosette yet.2. Drill a hole the appropriate size for your circle cutting jig. Here I will be using a Dremel tool and the Stewmac circle cutting jig so I will drill a 3/16″ hole.
3. Drill another hole in the center of an oversized piece of plywood, MDF or whatever large, relatively flat scrap board you have. This is so you can mount the pin for the circle cutting jig through the soundboard and a “base.”
4. Measure out from the center pinhole the location for your rosette and mark at several different radial points. Take your rosette and trace its outline along these points. Now set the radius for your circle cutting jig to make the first cut somewhere near the middle of your outline. Set the depth of cut to about 1/3 of the width of your bit. For example: I am using a 3/32″ spiral downcut bit, so the I will set the depth to about 1/32″. Make the first pass starting and ending in the area where the fretboard tongue will lie, so as to cover up any mishaps that may occur from starting and stopping the bit. After the first pass, again, increase the depth by about 1/3 the width of the bit and make a second pass. Keep making passes like this until you reach an appropriate depth. An appropriate depth is one that allows you to seat the rosette firmly but with it sticking up just a little proud of the soundboard surface.
5. Once the appropriate depth is reached, adjust the radius of the circle cutting jig so that it takes just a hair off of the outside edge. Make a pass. Continue adjusting the radius and making passes until the you reach the outer limit of your rosette outline. Now adjust the radius to take material off of the inside edge. Make passes in this direction, continually checking with your rosette piece until the rosette drops in snugly. In the picture below I am using a hammer and a block to seat the rosette for a perfect snug fit. However, having a lot of experience with installing rosettes, I know when it is appropriate to tap the rosette in like this. It is therefore important to note that I am not forcing the rosette into an undersized channel. You can damage both your rosette and the channel by doing this. When in doubt, make the channel wider. It is better to have a loose fit than to destroy your workpiece. Tip: If you are having trouble fitting the rosette piece, try carefully breaking or snapping the rosette at one point. This makes the piece more flexible as it is no longer a closed loop. The area of the break, of course, will be hidden beneath the fretboard tongue.
6. If the rosette is a very snug fit, as it is below, there is no need for glue at this point and you can skip to the next step. If it is seated somewhat loose, run a bead of water thin CA glue along the edge and let it wick down into the channel.
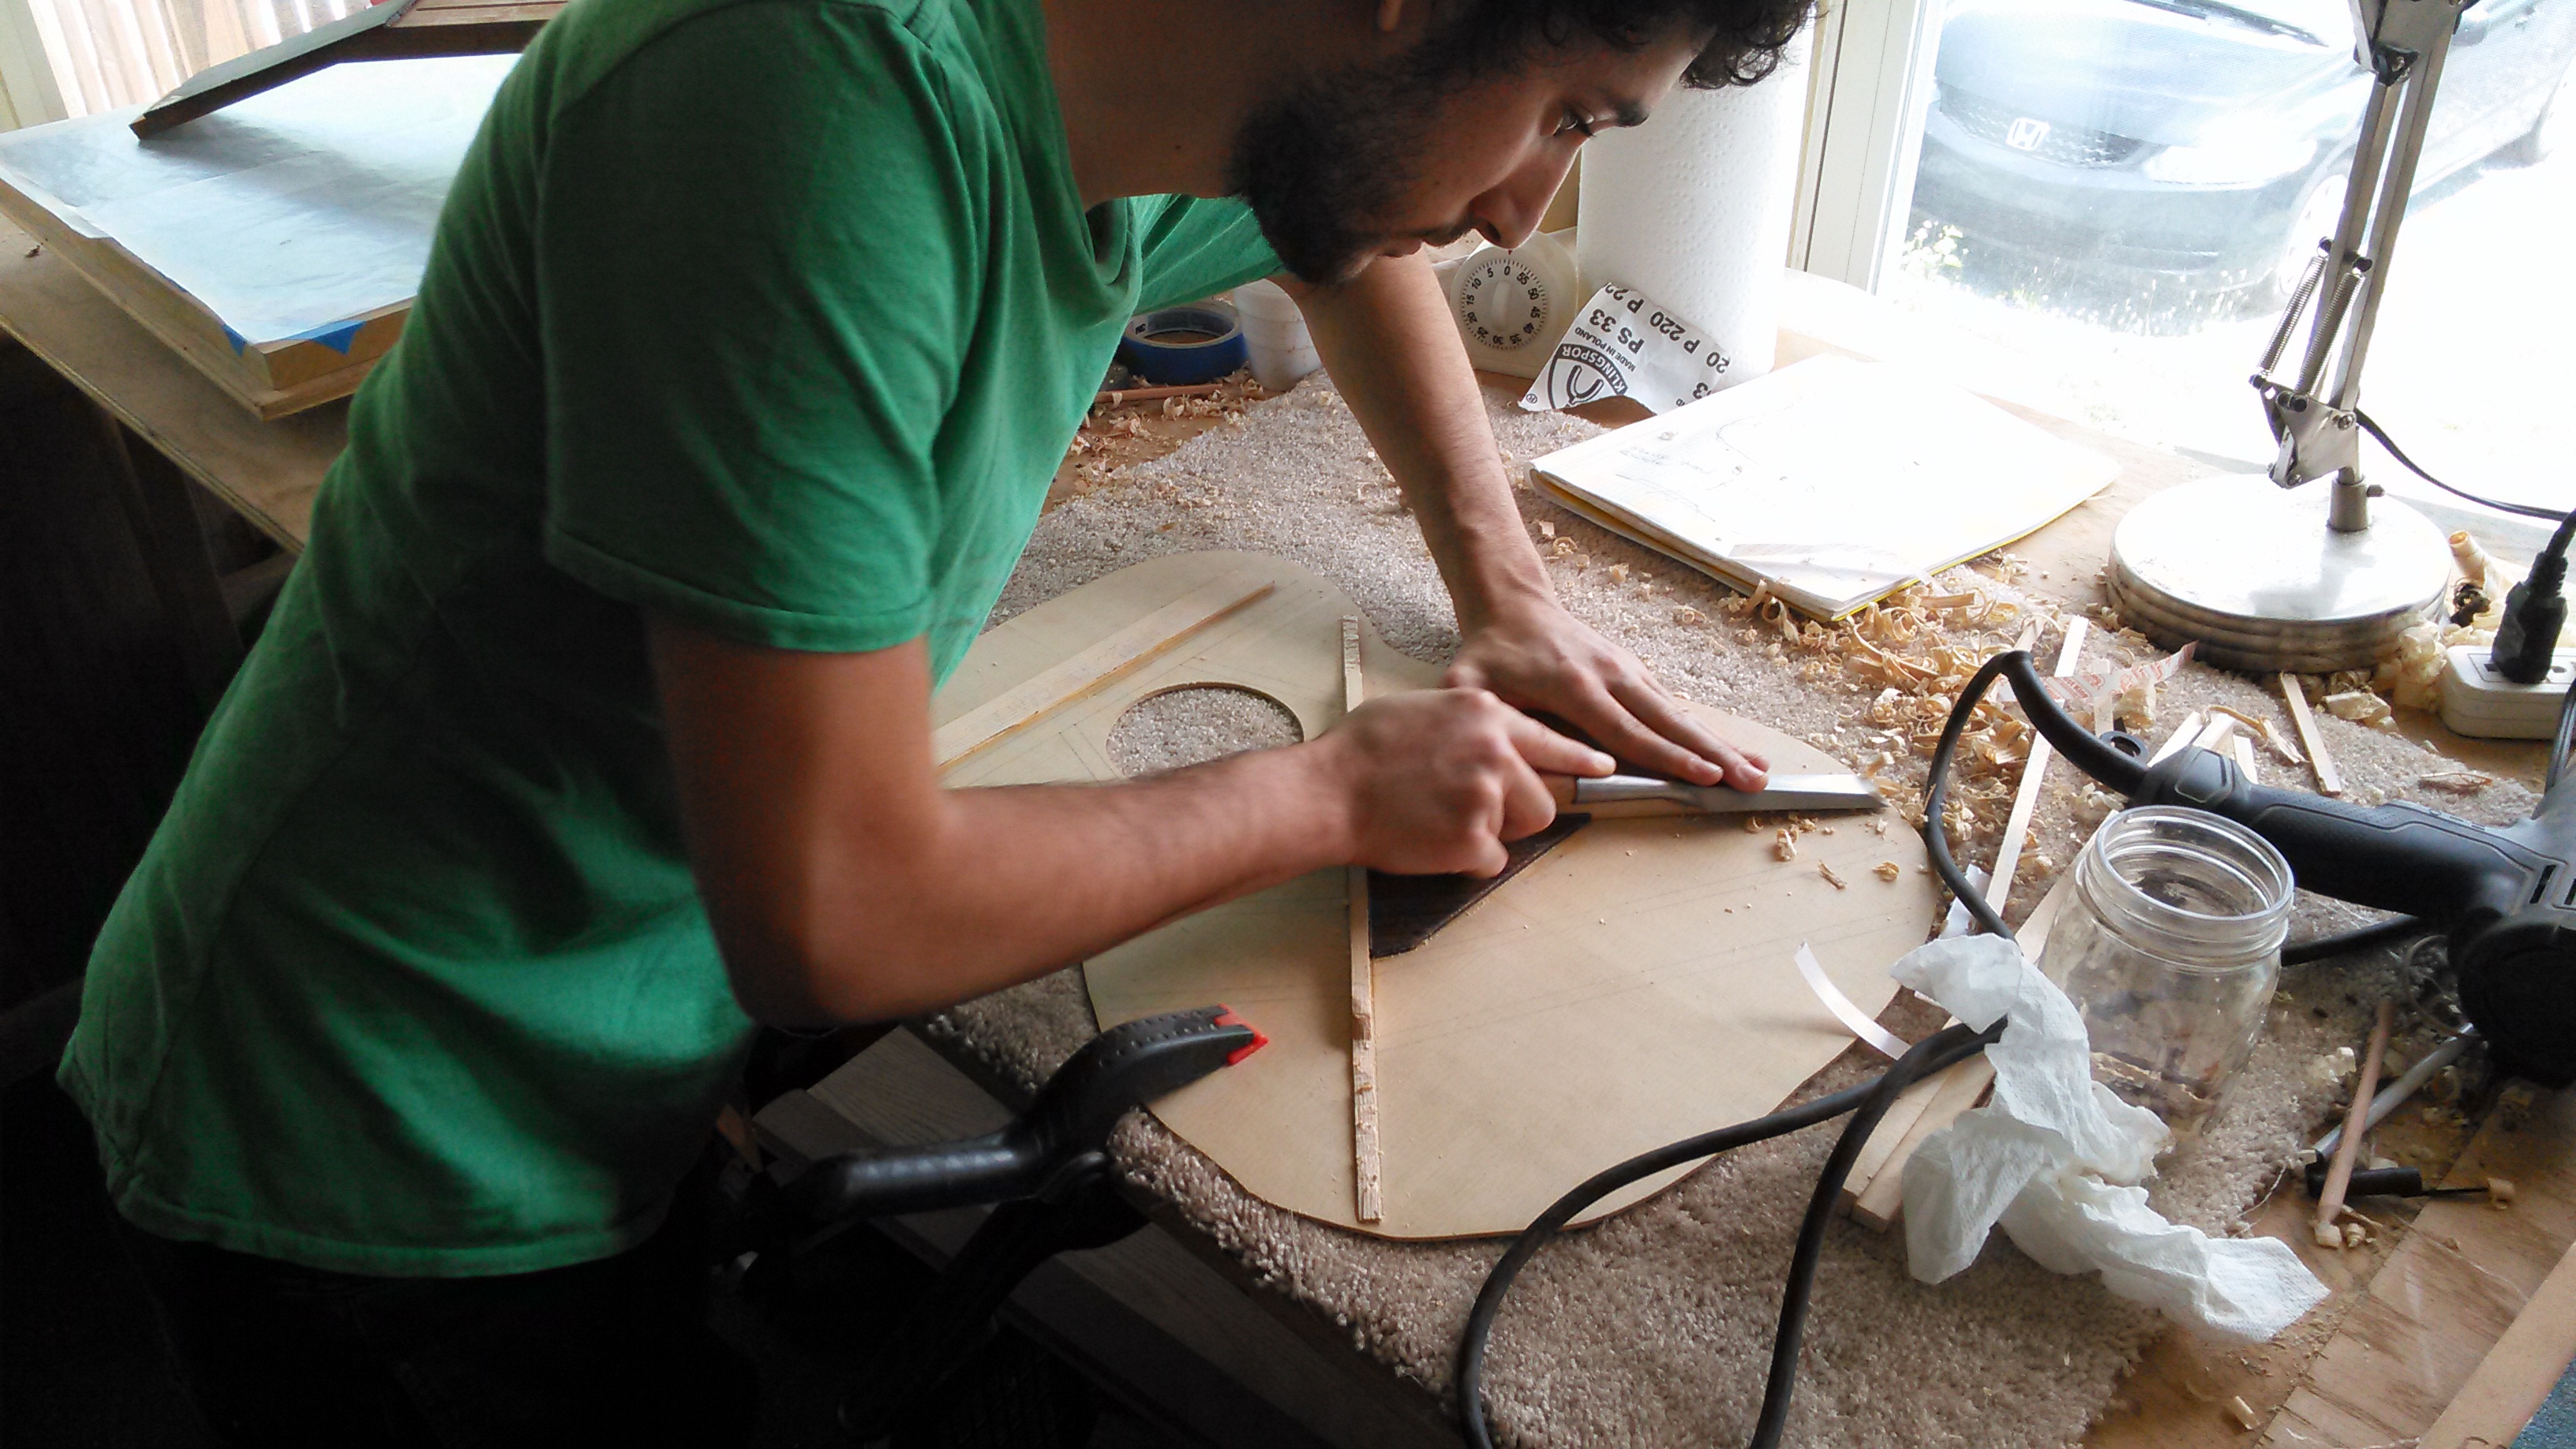
7. Sand or scrape the rosette flush with the soundboard surface. Here I am using a drum sander to accomplish this task but some sandpaper, a hard block and elbow grease works as well.
8. Once it is close to flush, I fill any gaps that may have resulting from an imperfect fit. Ebony dust and CA glue works great for this. I spread the ebony dust around the edges of the rosette until all the gaps appear to be filled and level with the surrounding surface. Tip: It is important to loosely spread the ebony dust rather than attempting to pack dust into gaps with your fingernail. Loosely filled gaps allow for the CA glue to percolate down through the entire fill.
9. Using water thin CA glue and a “wip tip” on the bottle, carefully run another bead of CA around the inside and outside edges of the rosette. Give it several seconds to percolate down into the ebony dust fills before spraying accelerator. Note: CA glue stains spruce deeply. That is why I install the rosette BEFORE thickness sanding the soundboard; So that I have plenty of material to sand through in order to remove those deep stains.
10. Finish sanding or scraping the rosette flush to the surface. If you find that you still have gaps do a second ebony dust fill and re-level. If you did everything right your rosette should look something like the picture below.
For more info or to purchase the Radial Rosette Maker click HERE
Was this useful? I would love to hear your questions or comments! I try to answer every e-mail I receive, so please be patient with me 🙂 eric@ericschaeferguitars.com
Want more of this? Subscribe below for Weekly Guitar Making Tips on “The Small Shop Luthier Blog”
I cut my scrap material (In this case, Zebrawood) into 2″ strips. I prefer the material to be approximately 1/8″ in thickness, give or take 1/32″. This is an excellent opportunity to make use of offcuts from your back and side sets.
2. Position a scrap block (~4-1/4″ X 3-1/4″) underneath the wedge template.
3. Position your first strip between the wedge template and the scrapblock and orient the grain lines with the center line on the wedge template. Tighten down the thumbscrews.
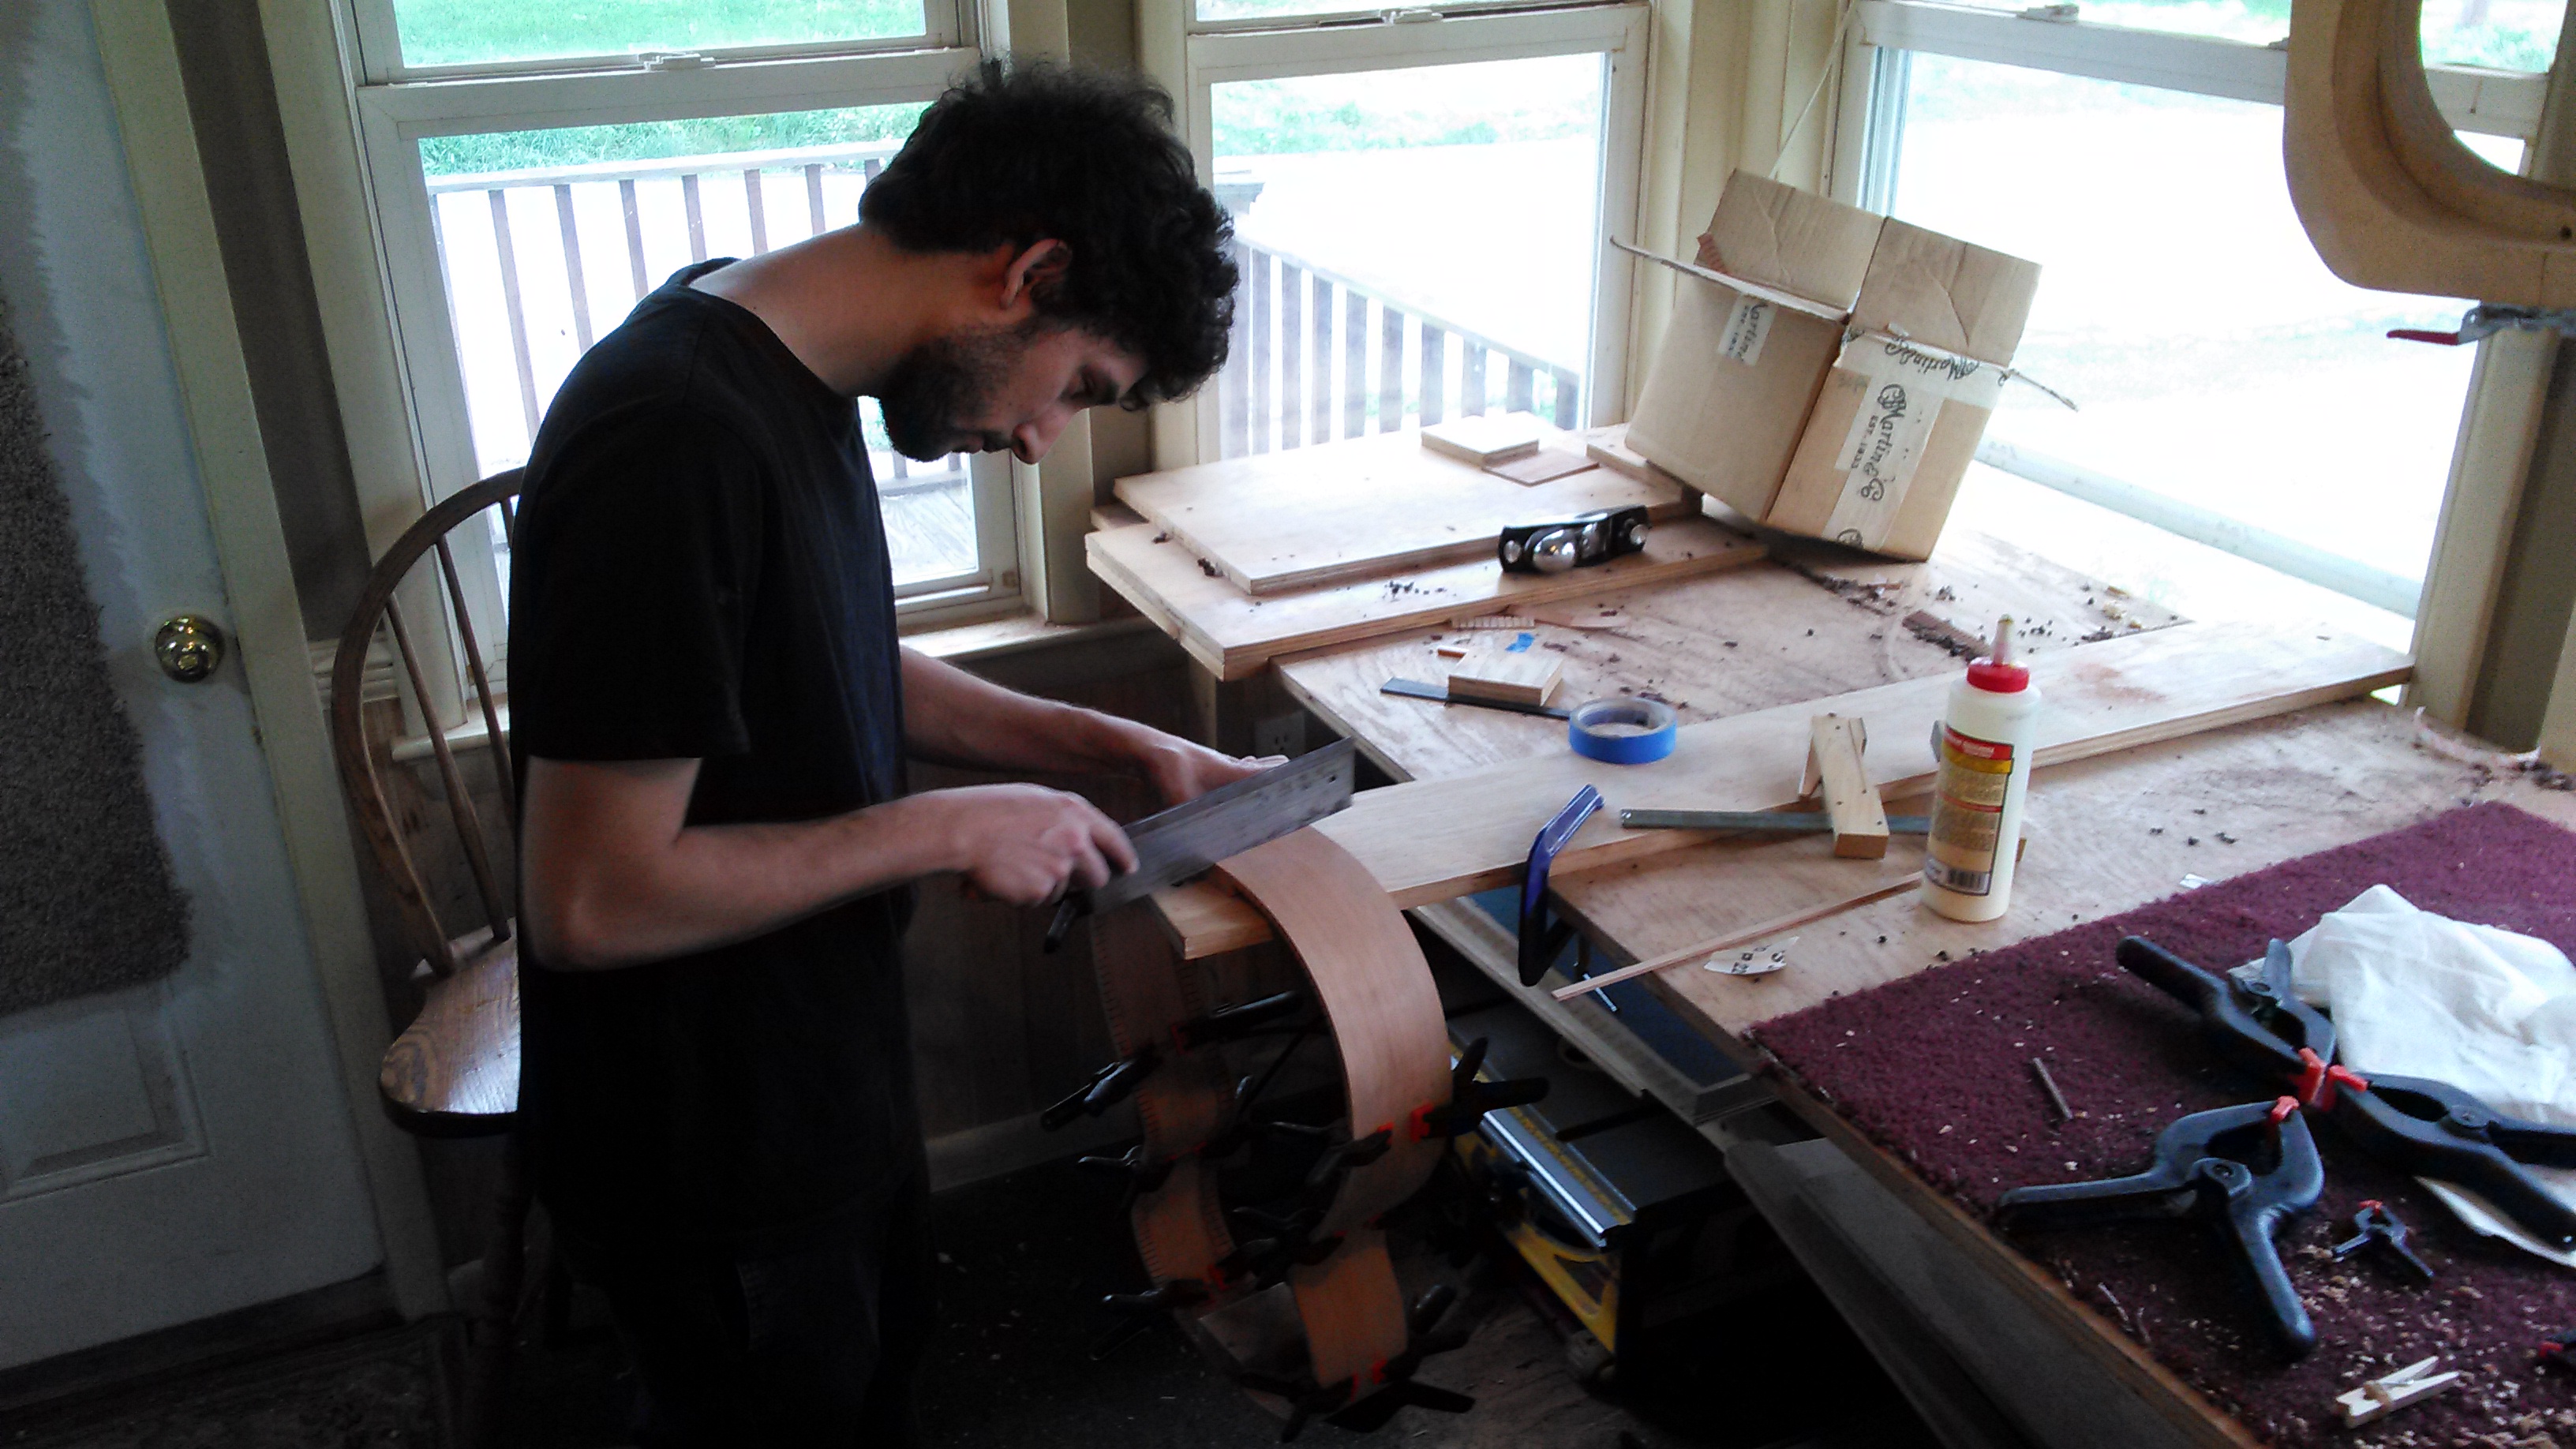
4. cut off the excess on both sides of the template with a small backsaw, using the template as a bearing guide for the saw.
5. Loosen the screws and set aside the tapered piece you’ve created. Throw away the small offcut. The larger offcut you can flip over and re-insert beneath the template so that the angled edge lines up with the template edge. The grain lines should already be relatively in-line with the center line of the template.
6. Cut again. Set aside tapered piece.
7. Continue cutting, flipping, and setting aside your tapered pieces until the offcut is too small to use.
8. Repeat steps 3-7 with the other scrapwood strips until you have 12 tapered pieces.
9. Apply paste wax to the bottom surface of the clamp. This is to prevent you from gluing your rosette to the jig.
10. Cover the platform surface in wax paper. Also, to prevent you from gluing your rosette to the jig. Place the clamp back in its home by puncturing the 3 socket cap screws through the wax paper and tightening them down. Don’t tighten all the way just yet.
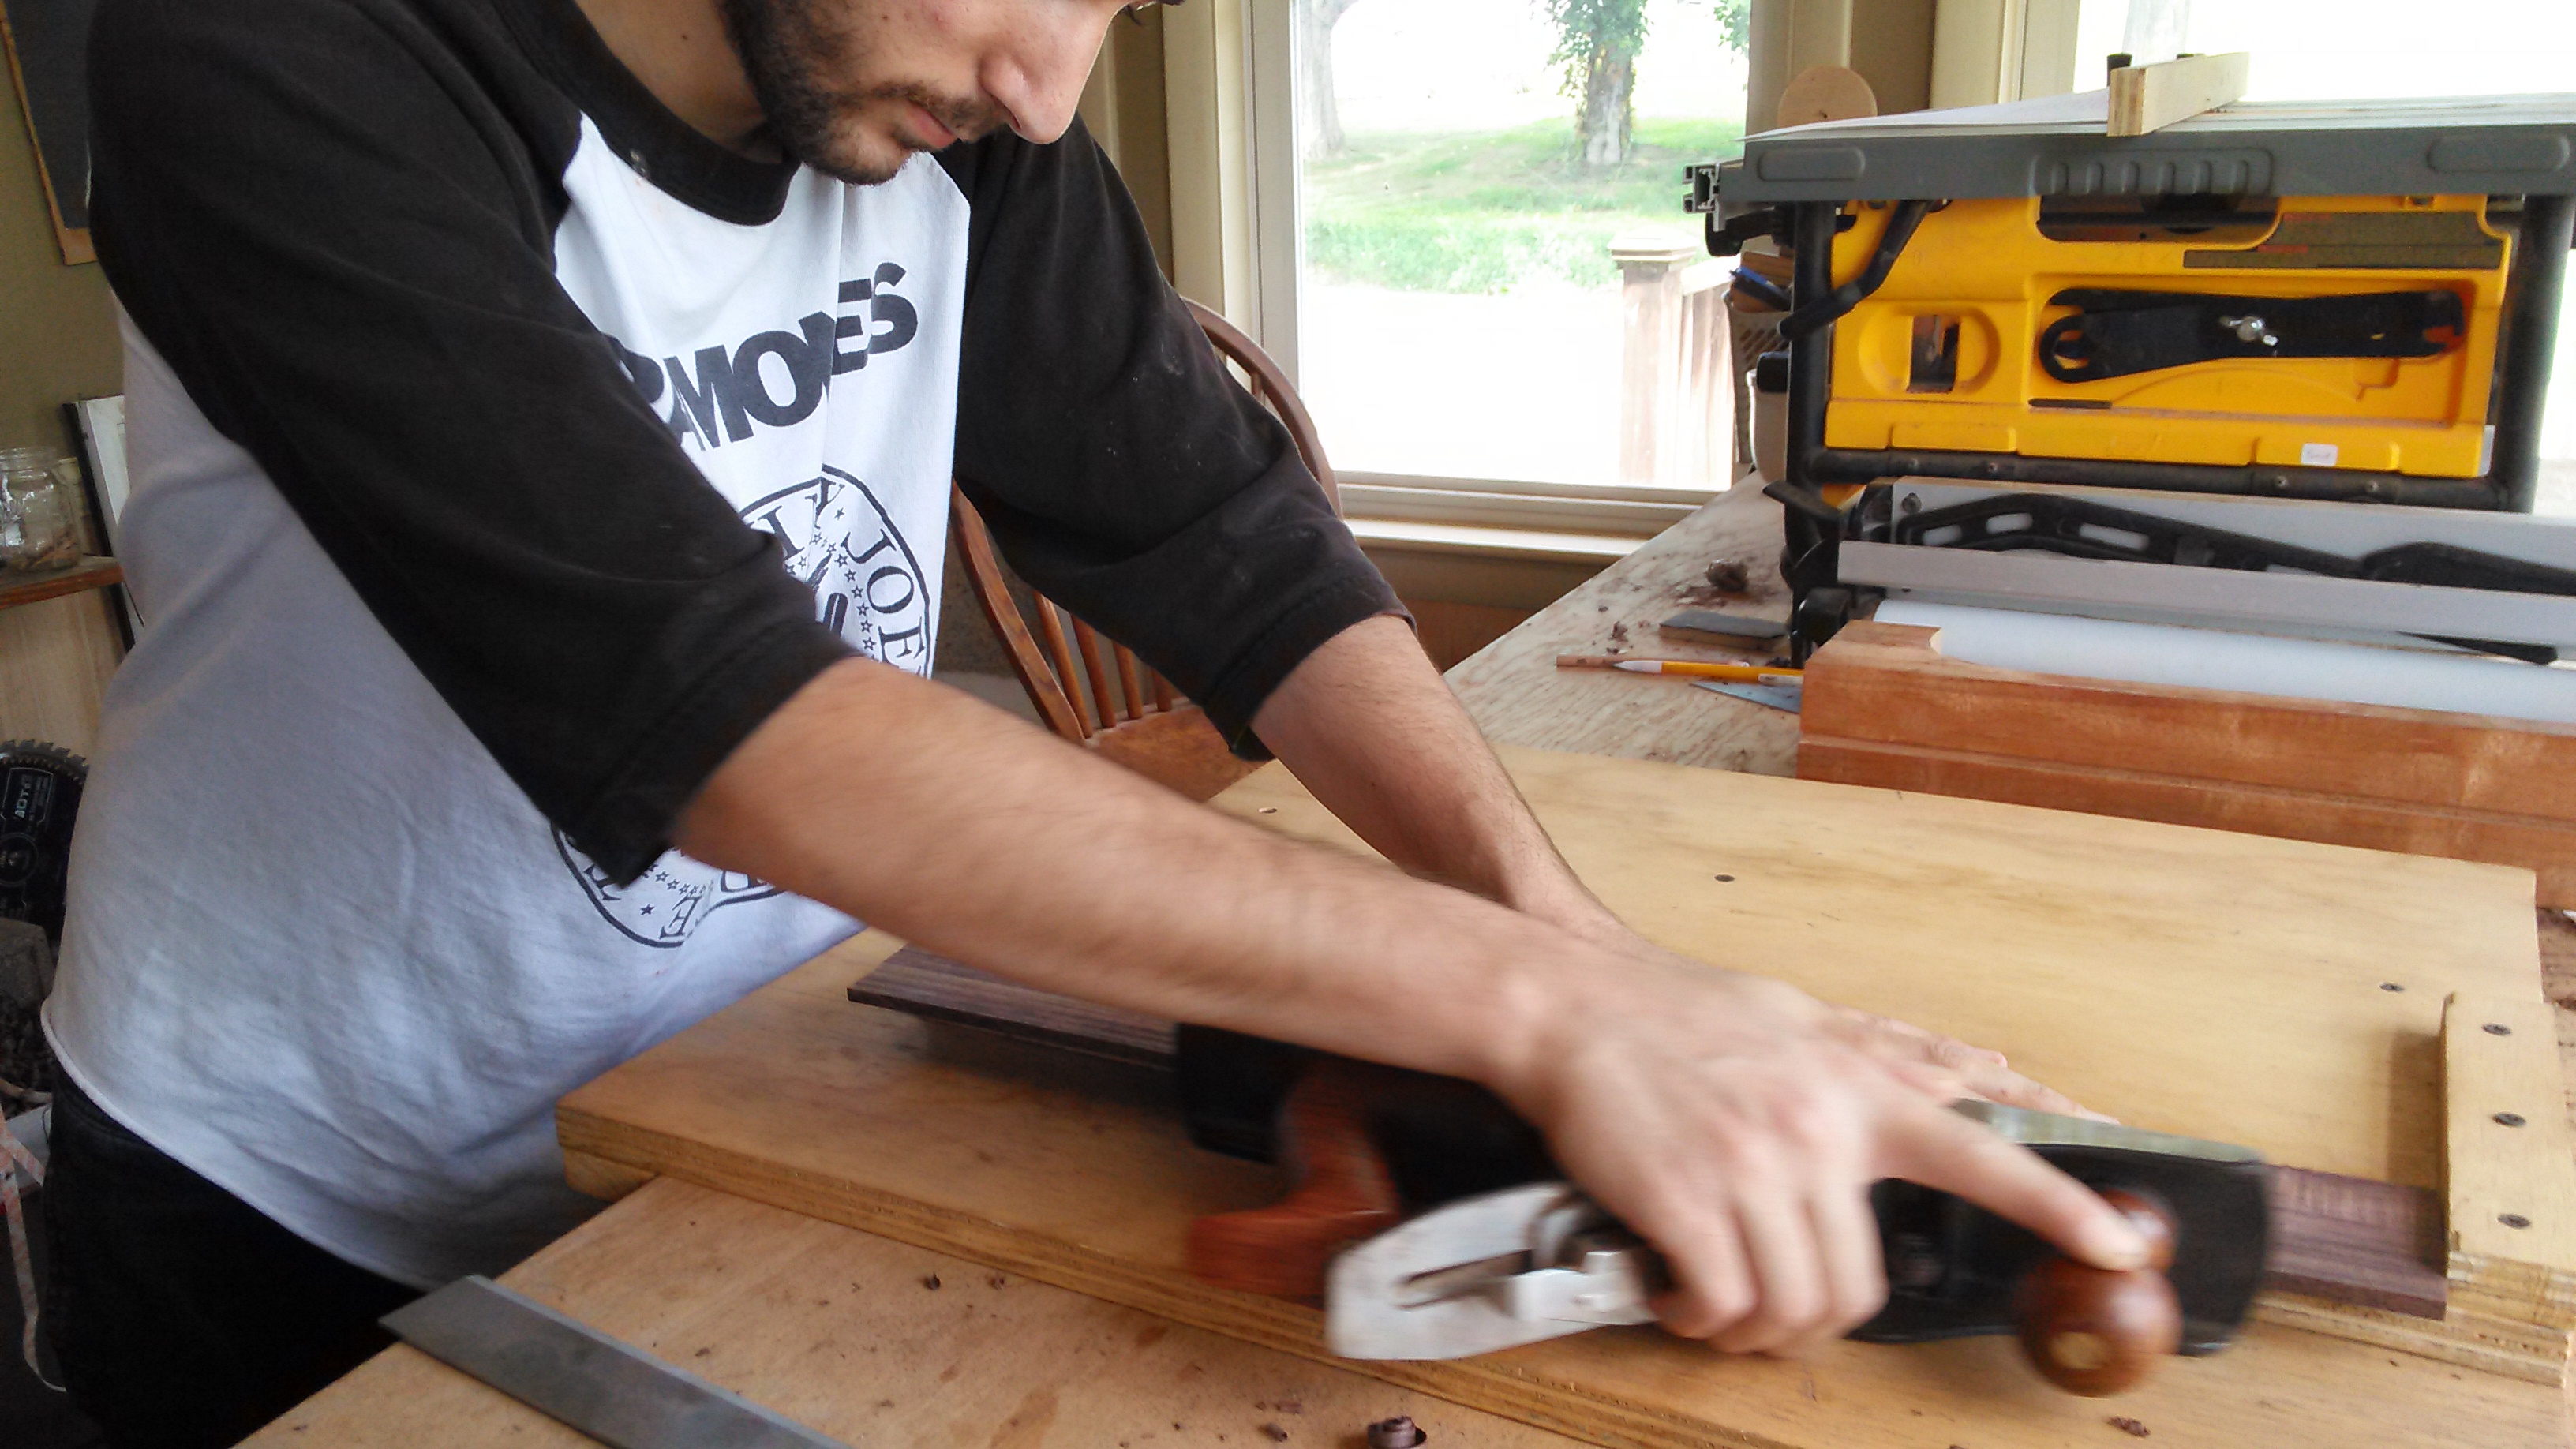
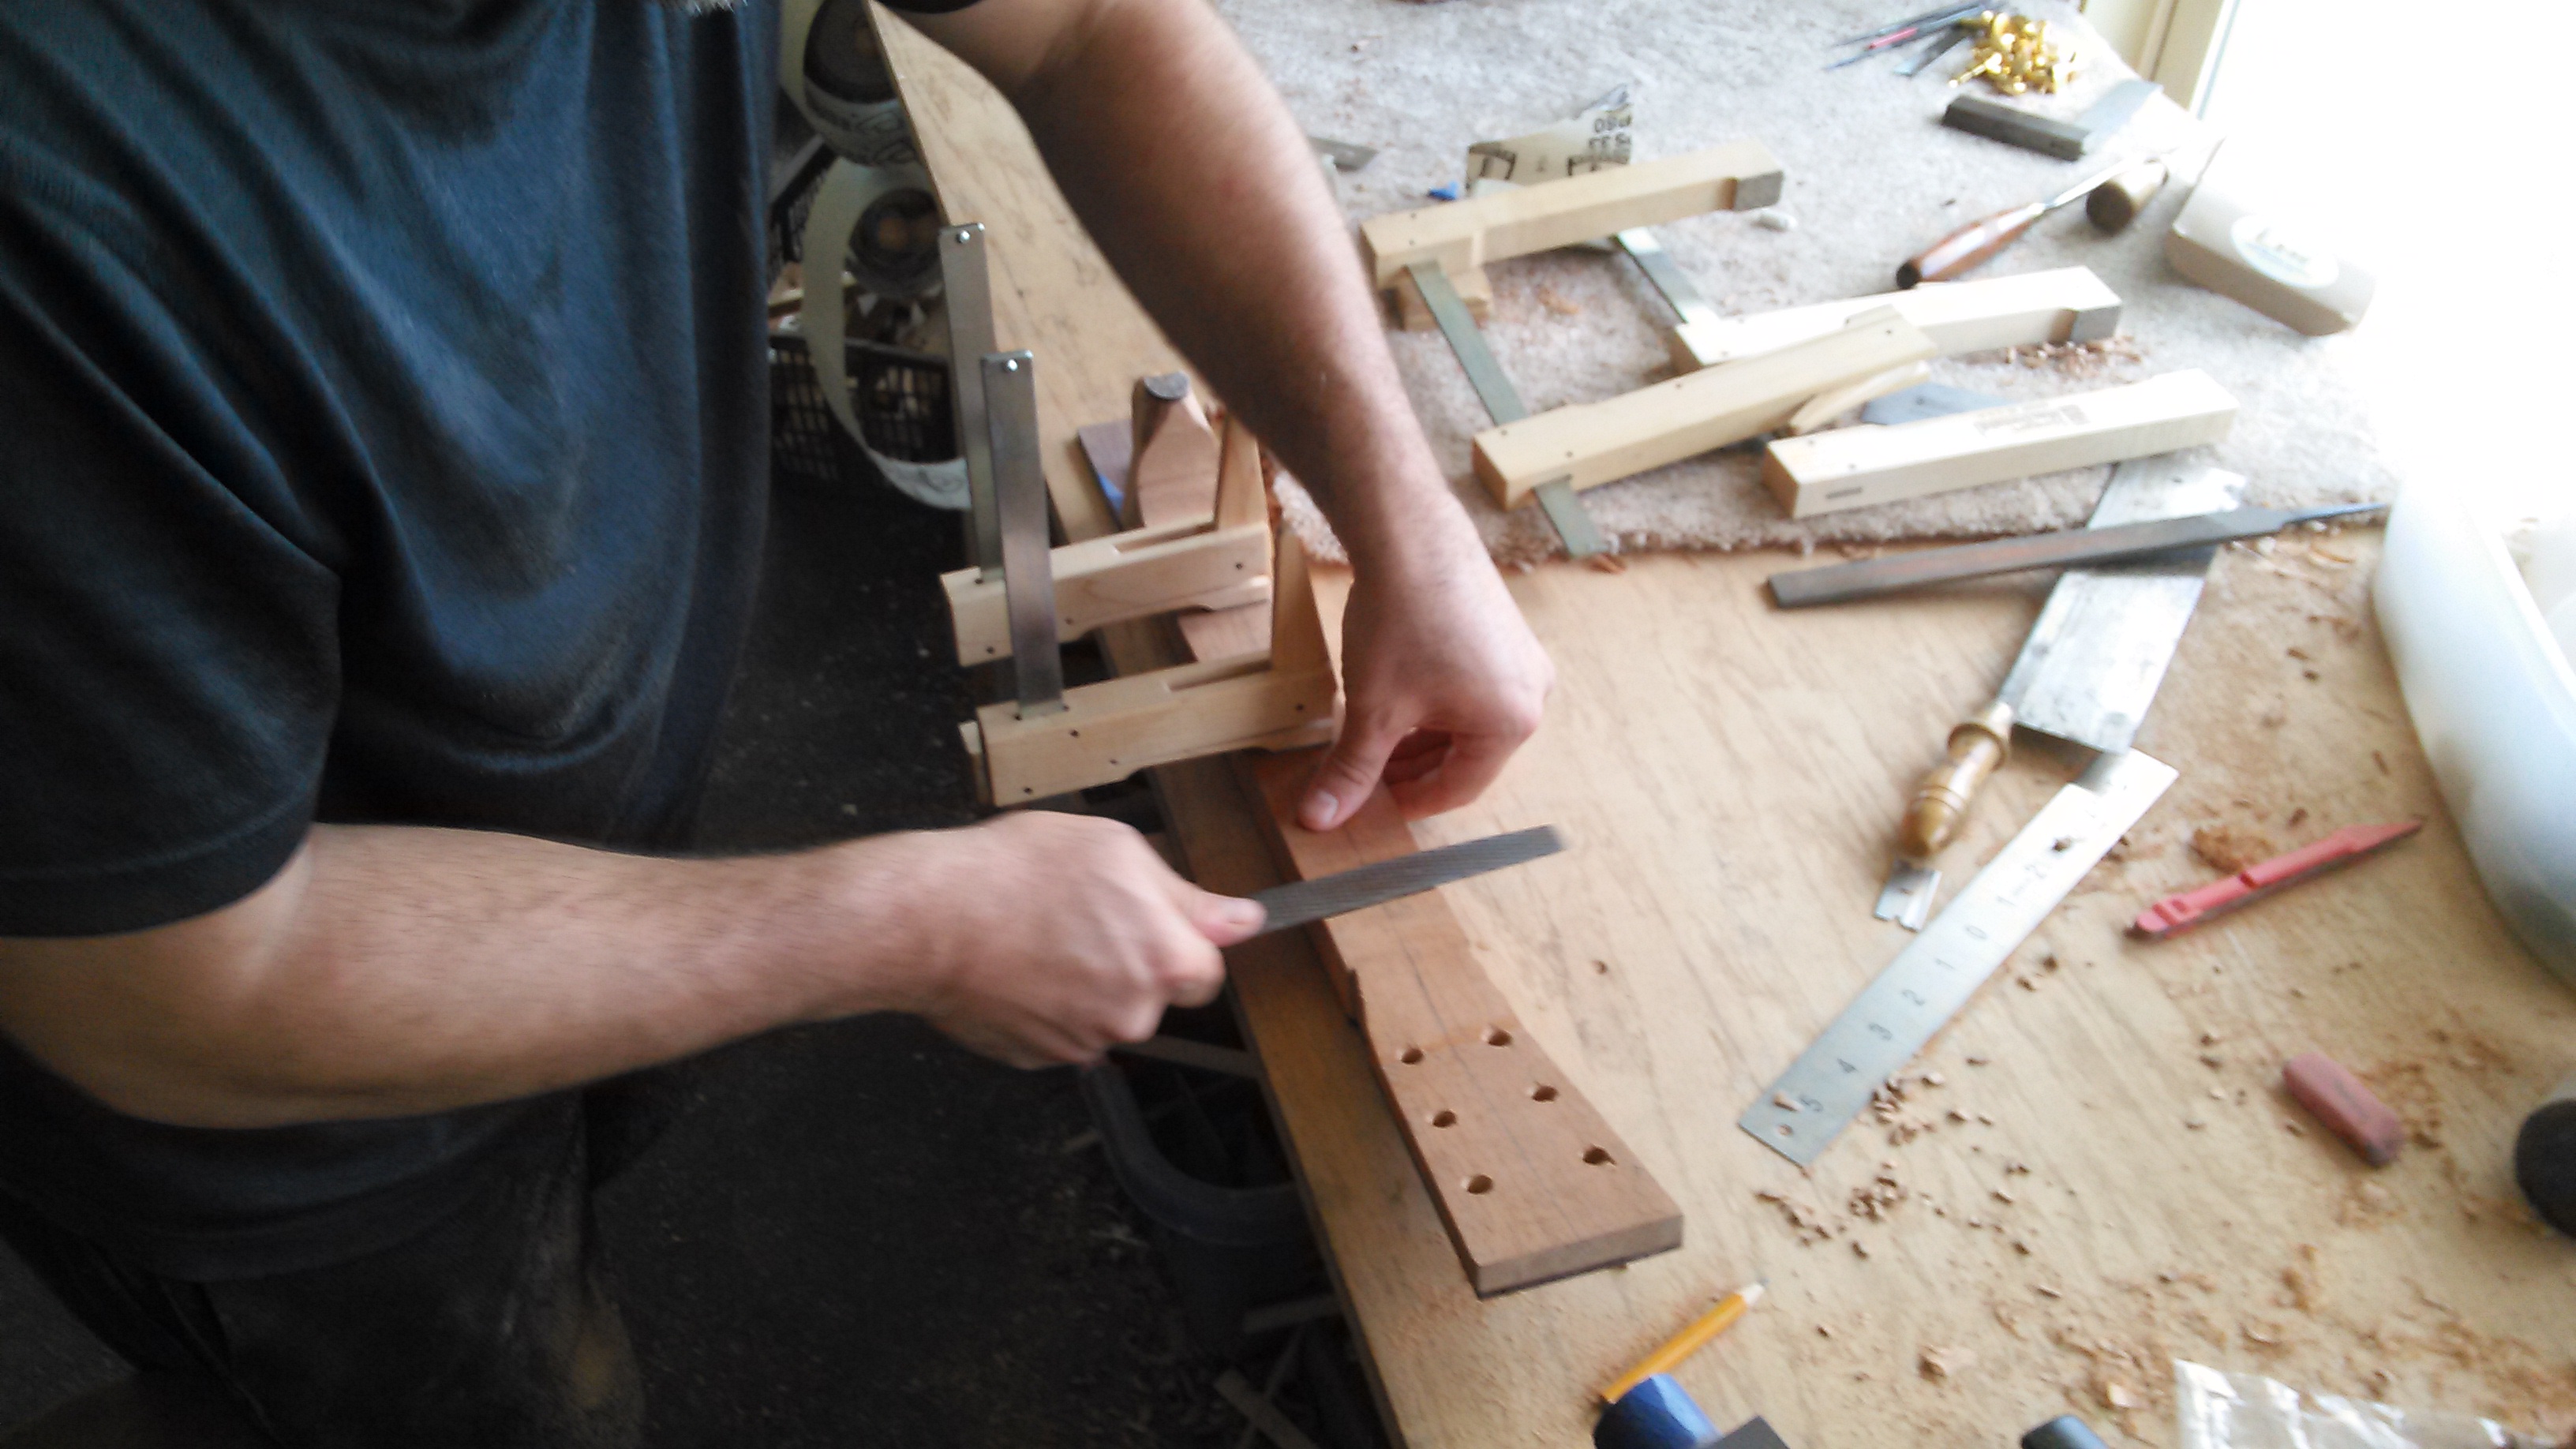
11. For each tapered piece, clean up both edges on a shooting board with a block plane. Just a pass or two should be sufficient.
Tip: You can clamp your scrap block to the edge of your workbench with a cam clamp as shown below for a makeshift miniature “shooting board.”
12. Place your first tapered piece beneath the clamp and position it so that the edges line up with the radial lines on the jig.
13. Place another tapered piece opposite to the first one just to prop the clamp up on the other side. Tighten the 3 socket cap screws just enough to hold the 2 tapered pieces in place.
14. Select your next tapered piece and place it under the clamp adjacent to the first piece. Loosen the clamp as necessary to slide the piece beneath.
Position it so that the edges line up with the radial lines. If the taper seems off then adjust the fit of that piece on the “shooting board.”
15. Once the taper matches, replace the piece and tighten down the clamp just a hair.
Run a bead of water-thin CA glue (superglue) along the joint. Only the water-thin stuff is thin enough to wick down into the joint. Spray with accelerator to instantly cure the glue.
16. Repeat steps 14 and 15 until all 12 pieces are installed as shown below.
Note: You may be tempted to skip the 12th piece because you know that the fretboard tongue will cover that part of the rosette anyway. I would advice against this. You will get a cleaner cut when you rout out the rosette if the rosette has the rigidity of a closed loop.
17. Setup a dremel tool in a circle cutting jig and pin the circle cutting jig on the clamp. I am using a 3/32″ spiral downcut bit in this case.
18. Set your circle cutter’s radius to make the outside cut first. This is crucial! If you make the inside cut first then the clamp will no longer be holding your rosette in place, making the outside cut difficult or impossible.
Adjust the bits depth to make an initial “just grazing” pass.
Tip: Every pass should begin and end in the same place because, as previously mentioned, the fretboard will cover part of the rosette, and you are far more likely to damage your rosette when you are starting or stopping the bit.
19. Adjust the bits depth by 1/32″ or less for another pass.
20. Repeat step 19 until you’re through the workpiece.
21. Make the inside cuts.
The rosette is complete! See the next post for tips on installing the rosette into the soundboard.
Was this useful? I would love to hear your questions or comments! I try to answer every e-mail I receive, so please be patient with me 🙂 eric@ericschaeferguitars.com
Want more of this? Subscribe below for Weekly Guitar Making Tips on “The Small Shop Luthier Blog”
Whether following plans from a kit or building from scratch, the rosette is an opportunity for the luthier to be creative and flaunt their artistic skills.
A rosette pattern designed with artistic discernment and then executed with the utmost precision is the envy of instrument makers everywhere.
So what is a radial rosette, you say?
Put simply, a radial rosette is a wood rosette with the grain or any striking figure/banding pointing inward toward the center of the soundhole. Even the most basic radial rosette (pictured below) is aesthetically striking in comparison to a solid wood rosette, where the grain lines run parallel to the soundboard grain.
Basic radial rosette patternIt is actually a very quick and easy process to create the rosette pictured above if you have the right setup. And this is just the beginning of what you can do with your rosette pattern once you start thinking and designing radially.
With this first part of “Radial Rosettes” I’ll go over what the “Radial Rosette Maker” is, the parts and materials for the Radial Rosette Maker™ and the dimensions of the final product so that you can build the jig at home. If you don’t want to fuss with that you can also purchase the jig here on this website. Scroll to the bottom of the page for information on purchasing.
Anatomy of the Radial Rosette Maker?
The “wedge template” is a tapered piece of 5/32″ acrylic that clamps down on the rosette material and provides the template/guide-bearing-surface for cutting out the individual pieces of the rosette pattern. I use a dovetail saw for the cutting.
The “clamp” holds the individual pieces in proper alignment for gluing and subsequent routing of the rosette.
The “trench” is a 1″ wide ring around the clamp that is relieved to 1/16″ in depth to allow for the dremel router bit to pass unobstructed.
Parts and materials
Radial Line Template
Print out the template and glue between 2 sheets of 5/32″ acrylic. I use CA glue because it doesn’t negatively affect the translucence of the acrylic, however, the alignment has to be perfect because the CA sets almost immediately. In this case, it makes sense to clamp 2 straight boards to your workbench at a right angle as stops. That way you can align the 2 sheets without any “swimming” in the glue. It is also wise to stick the template to one of the acrylic sheets with a small amount of double stick tape prior to gluing in order to prevent the template itself from swimming.
Dimensions
The acrylic should be cut to the below dimensions.
Building Notes
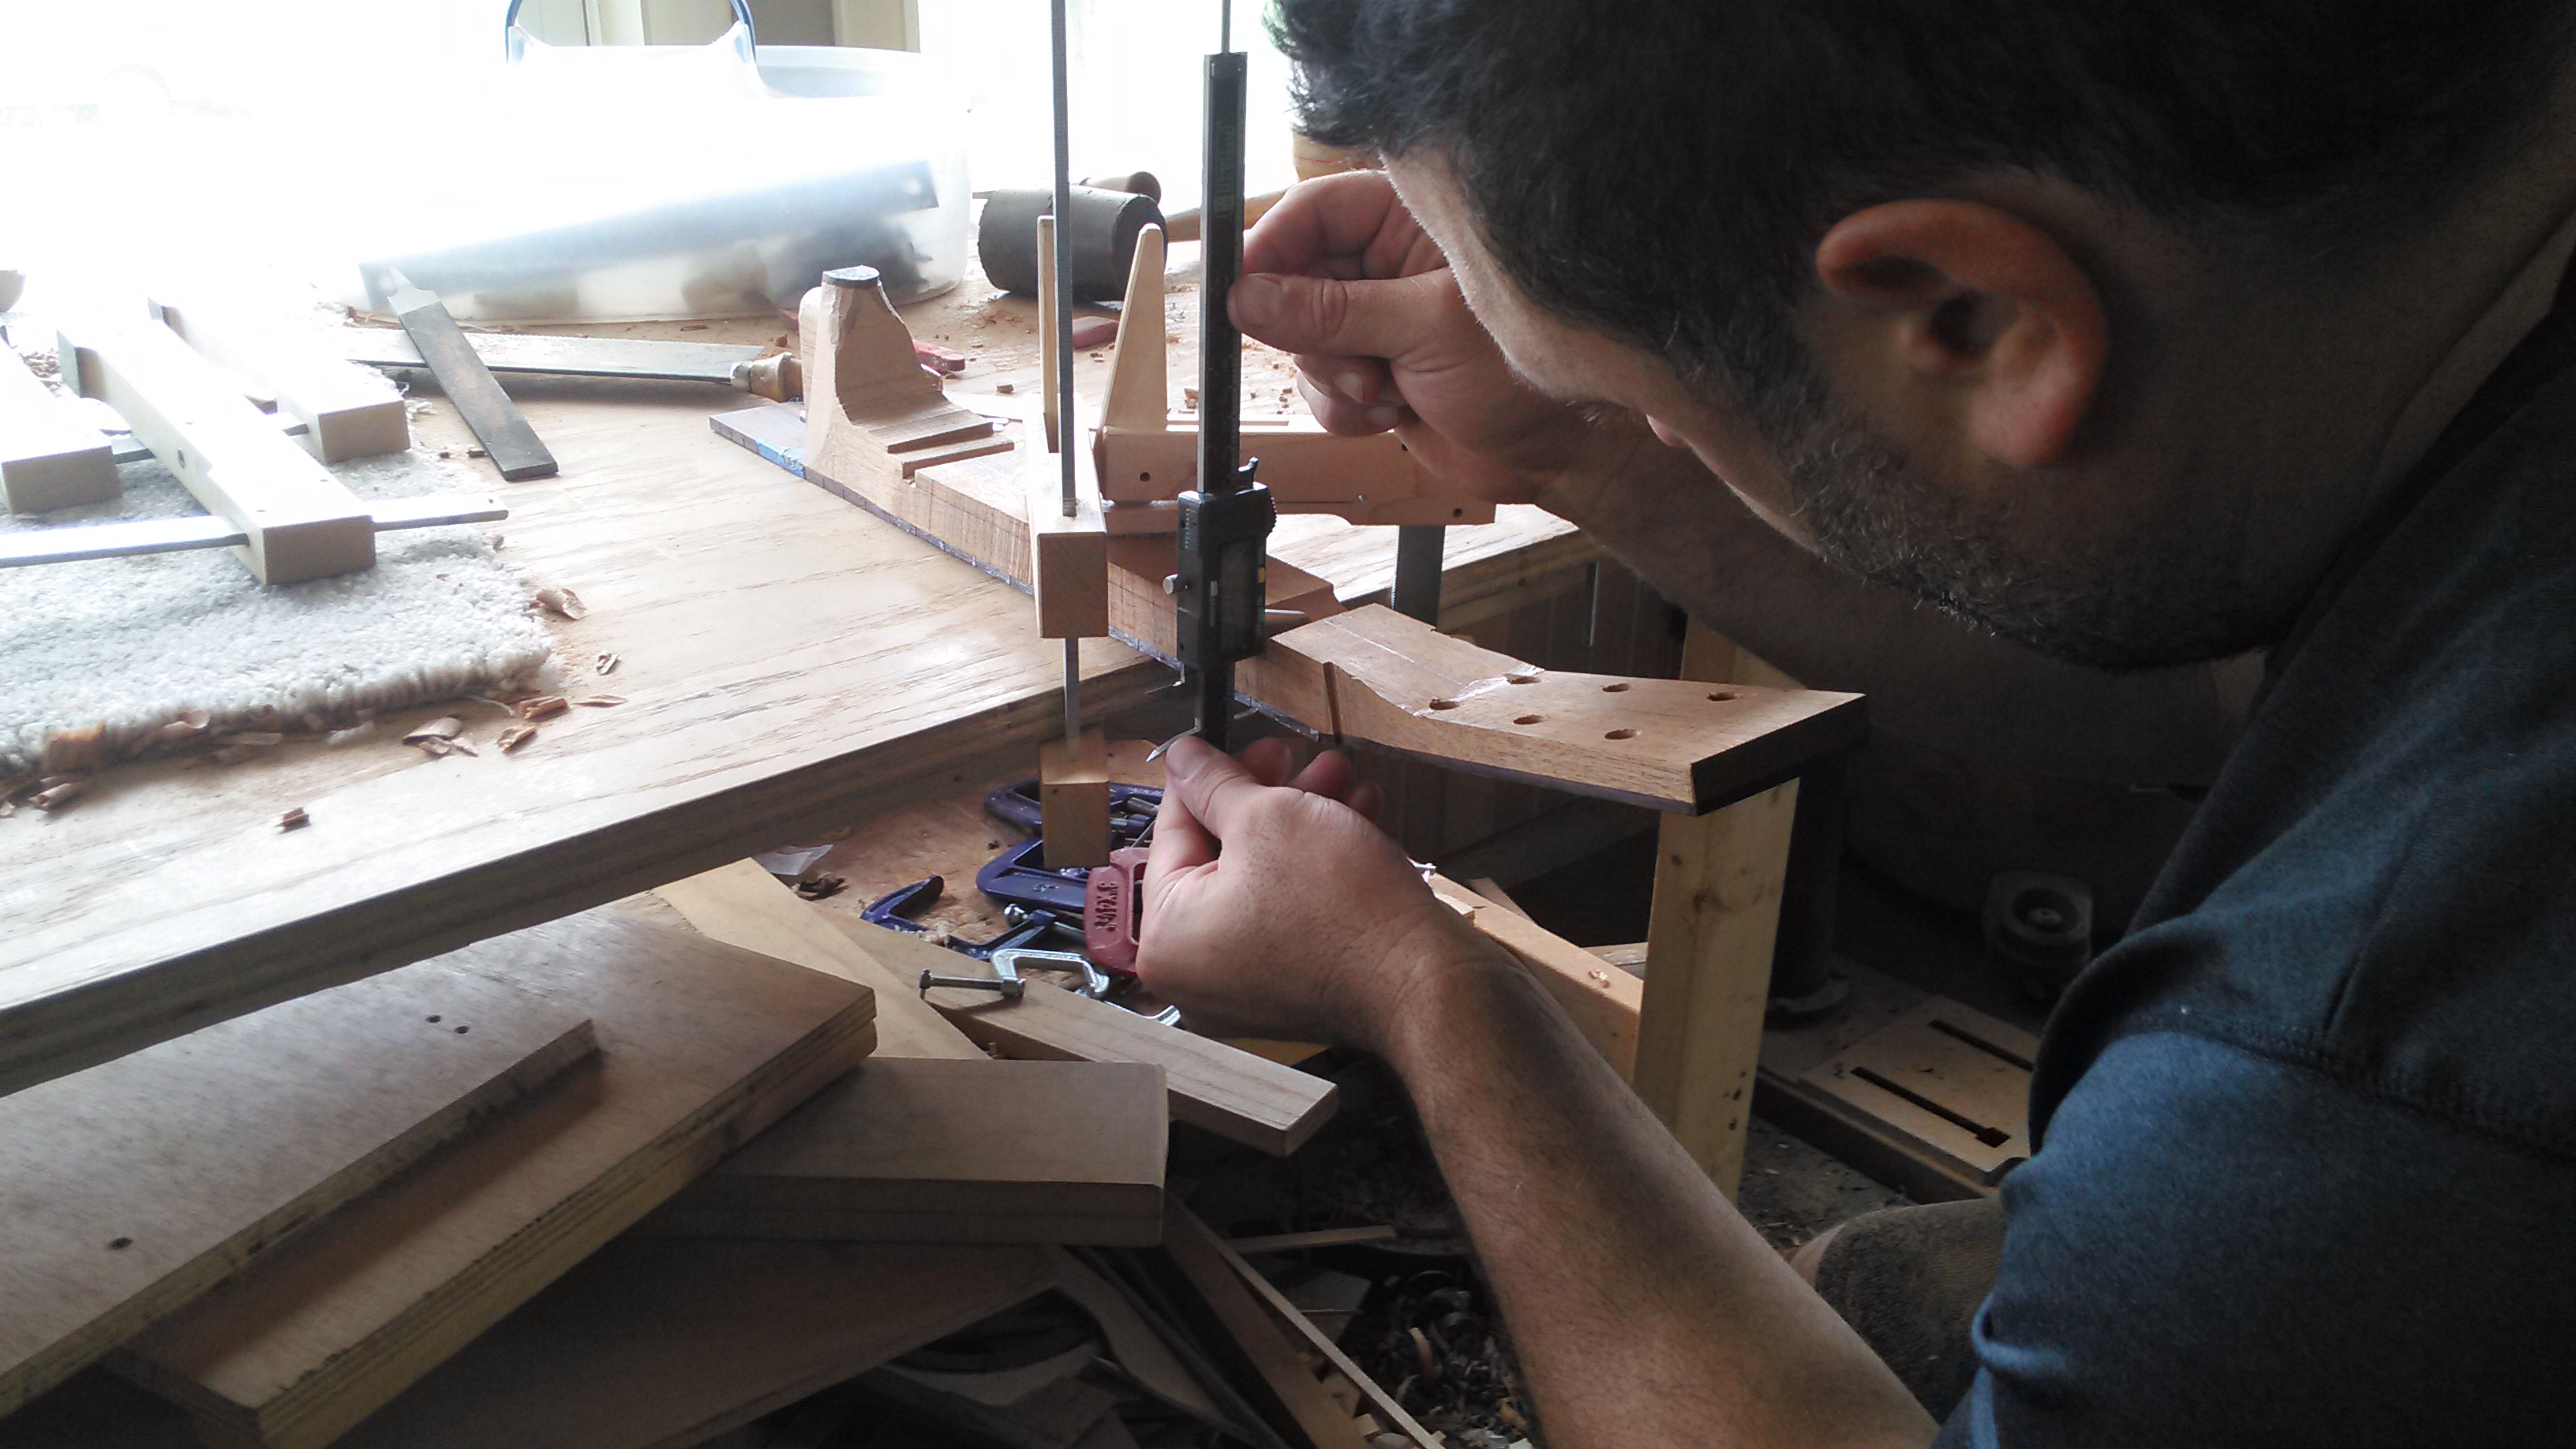
The 4 socket cap screws for the legs (#6 on the parts list), and the 3 socket cap screws for the “clamp” (#10) must be recessed in order to allow free movement of your circle cutting jig.
The 3 lock nuts (#11) are recessed into the bottom of the acrylic platform to accept the 3 socket cap screws for the “clamp”(#10). I rout out the recesses for the lock nuts carefully with a fine bit in a dremel tool to match their hexagonal shape. This way the lock nuts fit snug and won’t spin in their recesses when the socket cap screws are turned. I also add epoxy to the recesses.
The 3 lock nuts on the underside of the acrylic platformThe hole in the center of the “clamp” is for the pin that your circle cutting jig uses. In this case it is a 3/16″ hole because I use the Stewmac circle cutting jig which uses a 3/16″ pin.
The “trench” is routed out last to 1/16″ in depth with several passes of a dremel on a circle cutting jig.
If this all seems a little confusing read on to Radial Rosettes: Making a Basic Pattern to understand how this jig works and come back to this page before attempting to build the jig.
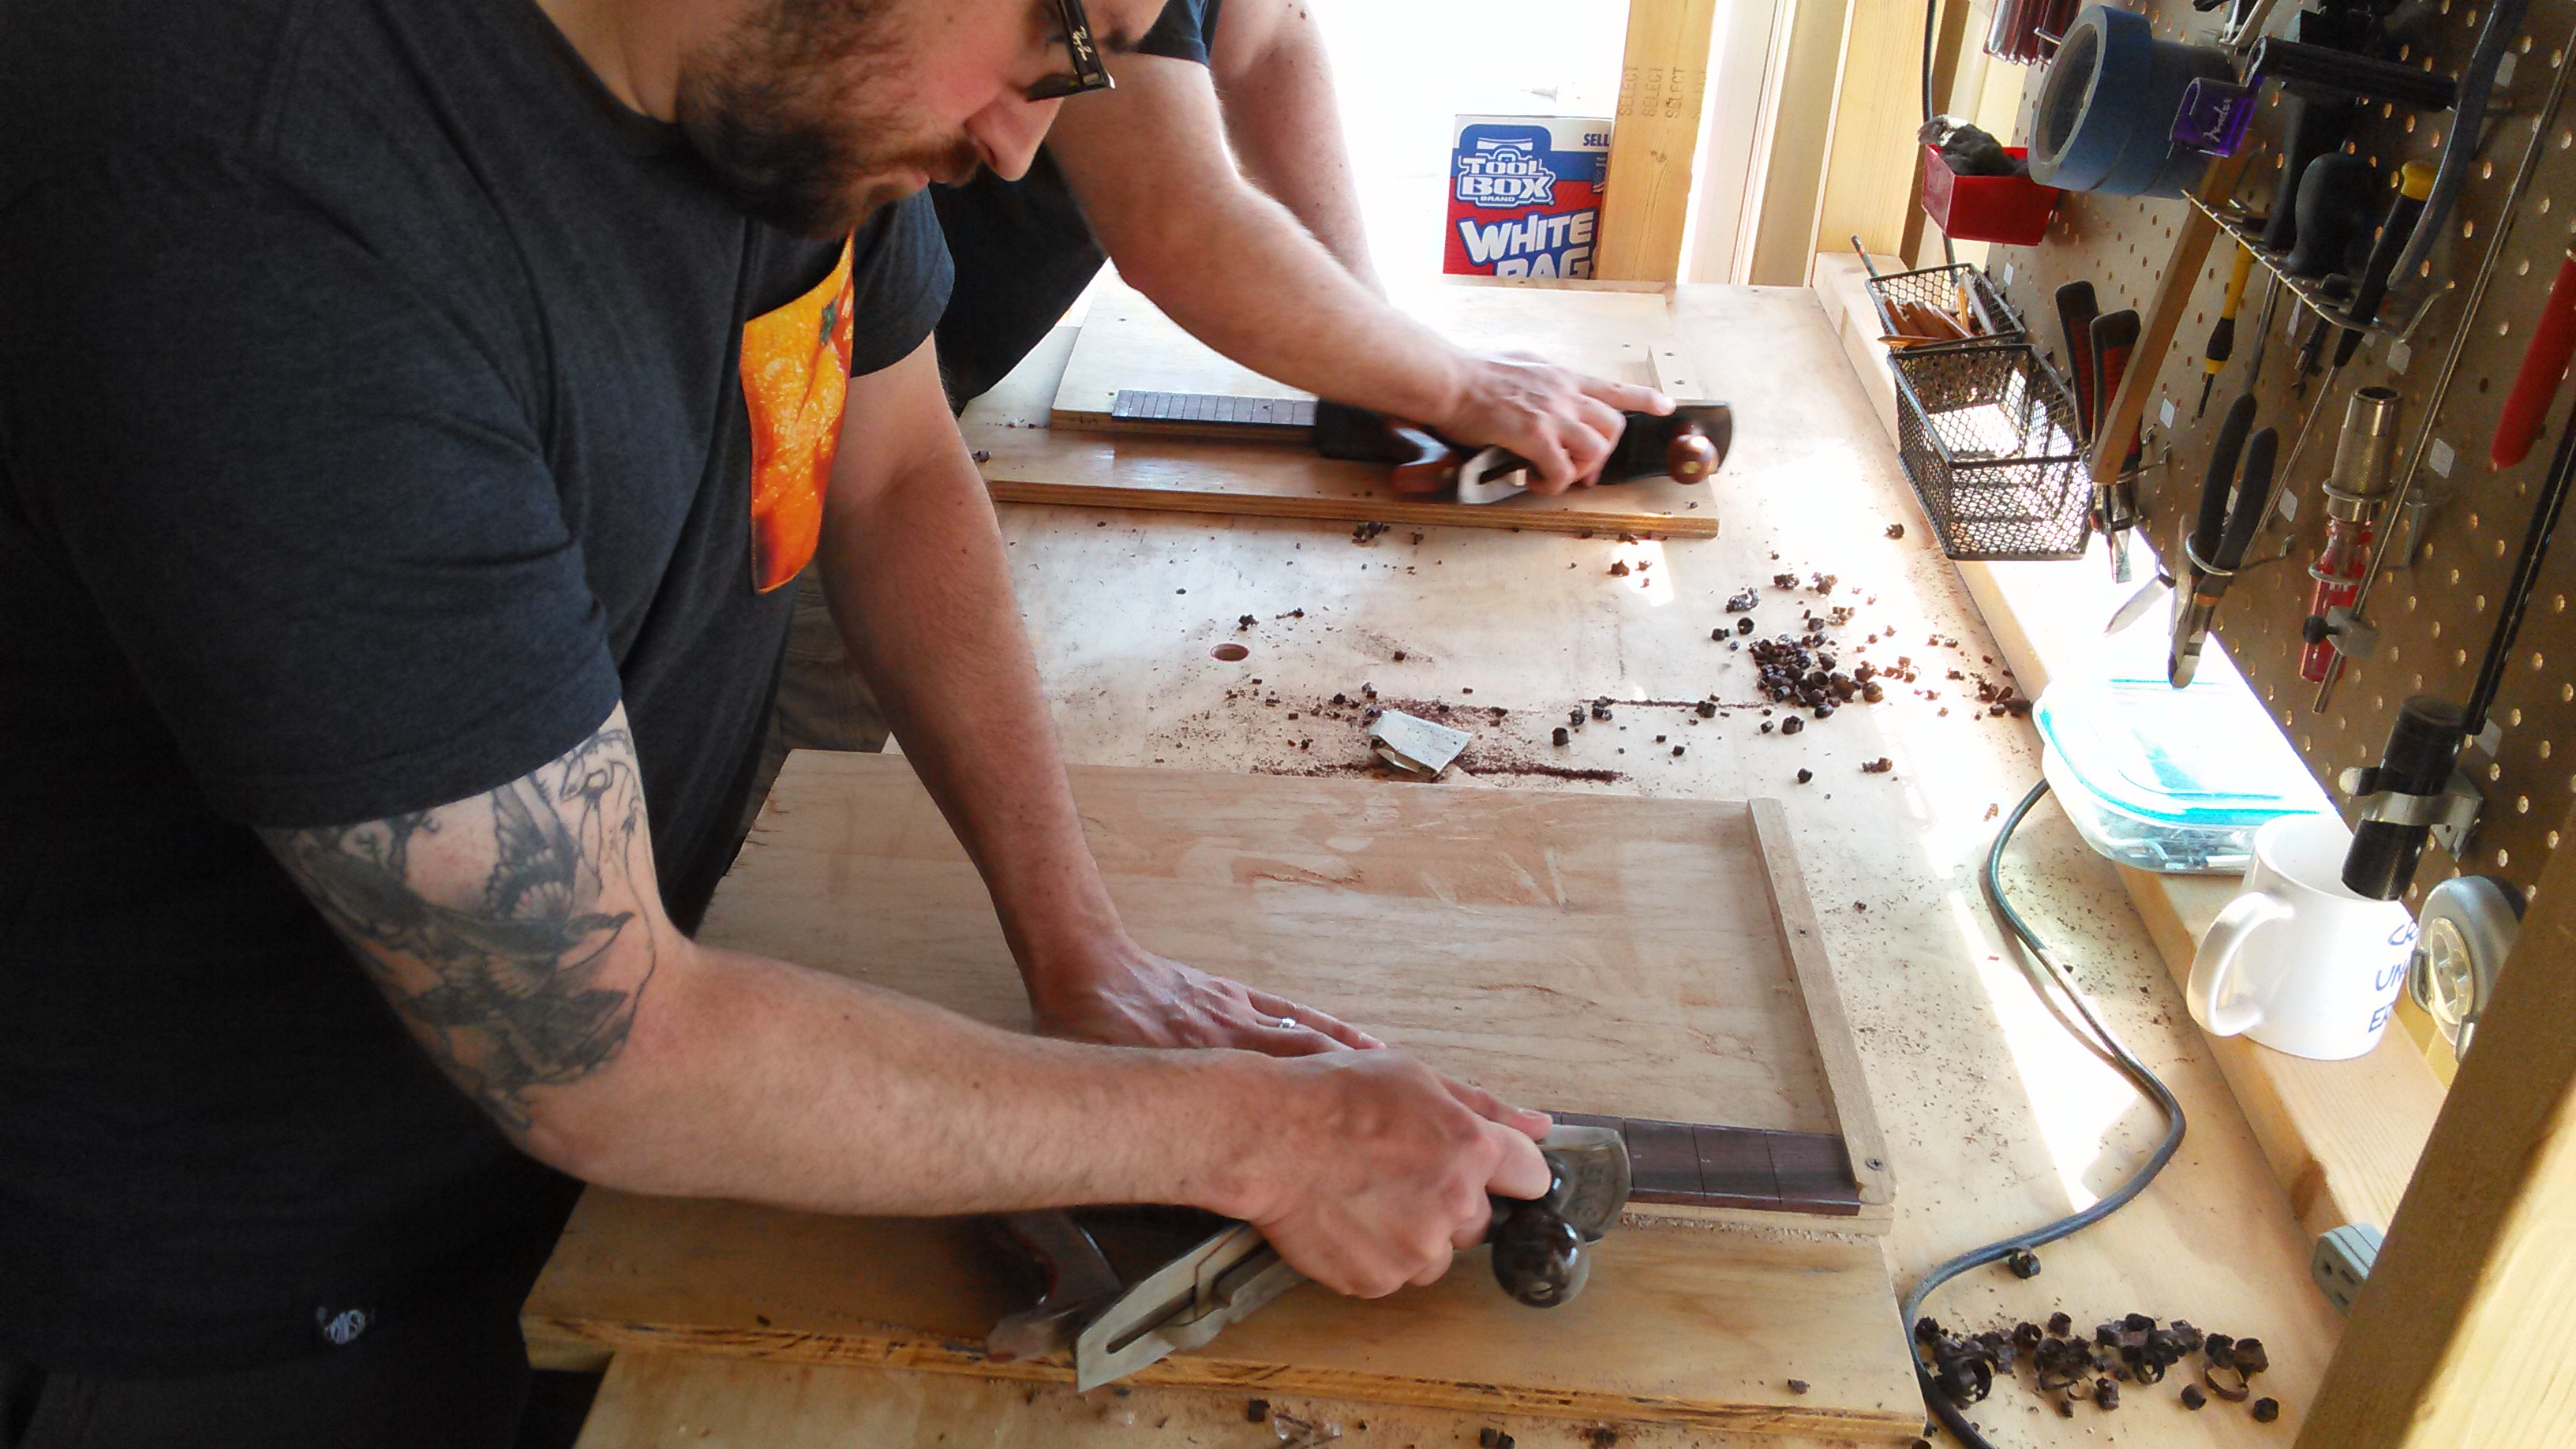
Jointing the centerseam of the soundboard is often the very first thing I like to do when I receive parts from a tonewood supplier. There is no better way to get acquainted with your soundboard-to-be than taking thin, wispy shavings off of it with a handplane.
Here I am going to show you a simple method for jointing the mating edges of the centerseam and gluing the bookmatched pair together, using a low investment in tools. The only high-cost item here is a good #5 jack plane which I highly recommend owning for a myriad of uses around your shop anyway.
Inspect the Bookmatched Pair
It is useful to draw out a rough outline of the guitar’s shape onto the plates. You can do this by tracing the outline from your mold or template.
If you ordered your parts from an online supplier this has likely been done for you. I know that Luthier’s Mercantile International draws a dreadnought outline on its plates. This is for the purposes of grading. They assess the area within the outline to determine whether it is AA grade, AAA grade or otherwise.
Bookmatched pair from Luthier’s MercantileI start by inspecting the plates in the area of the centerseam. Parallel grain on either side of the joint is optimal. I like to avoid grain run-out if I can, unless I am using a highly figured set for aesthetic reasons. Keep in mind, a highly figured set can be more difficult to joint.
A highly figured set can be more difficult to joint.Shoot the Edge
Stack the bookmatched halves on top of each other so that the centerseam edges are exposed on the same side. In other words, imagine the plates as a book and the centerseam is the book’s binding. Now flip the book closed. The “book binding” edge can now be planed flat. It is far easier to get a perfect fit by stacking the two pieces and planing them together like this than it is to plane each piece separately.
Place the stacked halves on a shooting board with the mating edges of the centerseam exposed to the plane. Place a weight on top of the stacked halves. I use this 20 lb. dumbbell because I like to use the dumbbell as a handle for my left hand while I’m shooting, but anything with a little heft will do. The weight helps to keep things from shifting while shooting.
The plates stacked, weighted and ready to be jointed.I find that the best handplane for this job is the #5 Jack plane. Do not use a block plane for this. The short length of a block plane’s sole won’t allow you to bridge a large enough portion of the working edge to ensure an even, flat cut.
Run your fingertips along the mating edges of the centerseam and make sure that they are flush to each other. You can use the sole of the handplane to press them flush.
Make sure the centerseam edges are flush with each other.
To set up the plane, retract the plane’s blade all the way into its throat as a starting point, and then advance the blade from the throat slowly until it just barely protrudes from the throat.
Now using light to moderate pressure, shoot the plane across the full length of the workpiece in the orientation shown in the picture below.
If the first pass did not produce any shavings, then advance the plane blade from the throat by a hair and try again until you produce thin, wispy shavings. If your shavings are nearly translucent then you have found a good setting for your plane blade.
Thin, wispy, nearly translucent shavings
Take 3 or 4 full length passes maintaining a consistent pressure against the entire length of the centerseam. Be mindful not to tip the plane as you shoot.
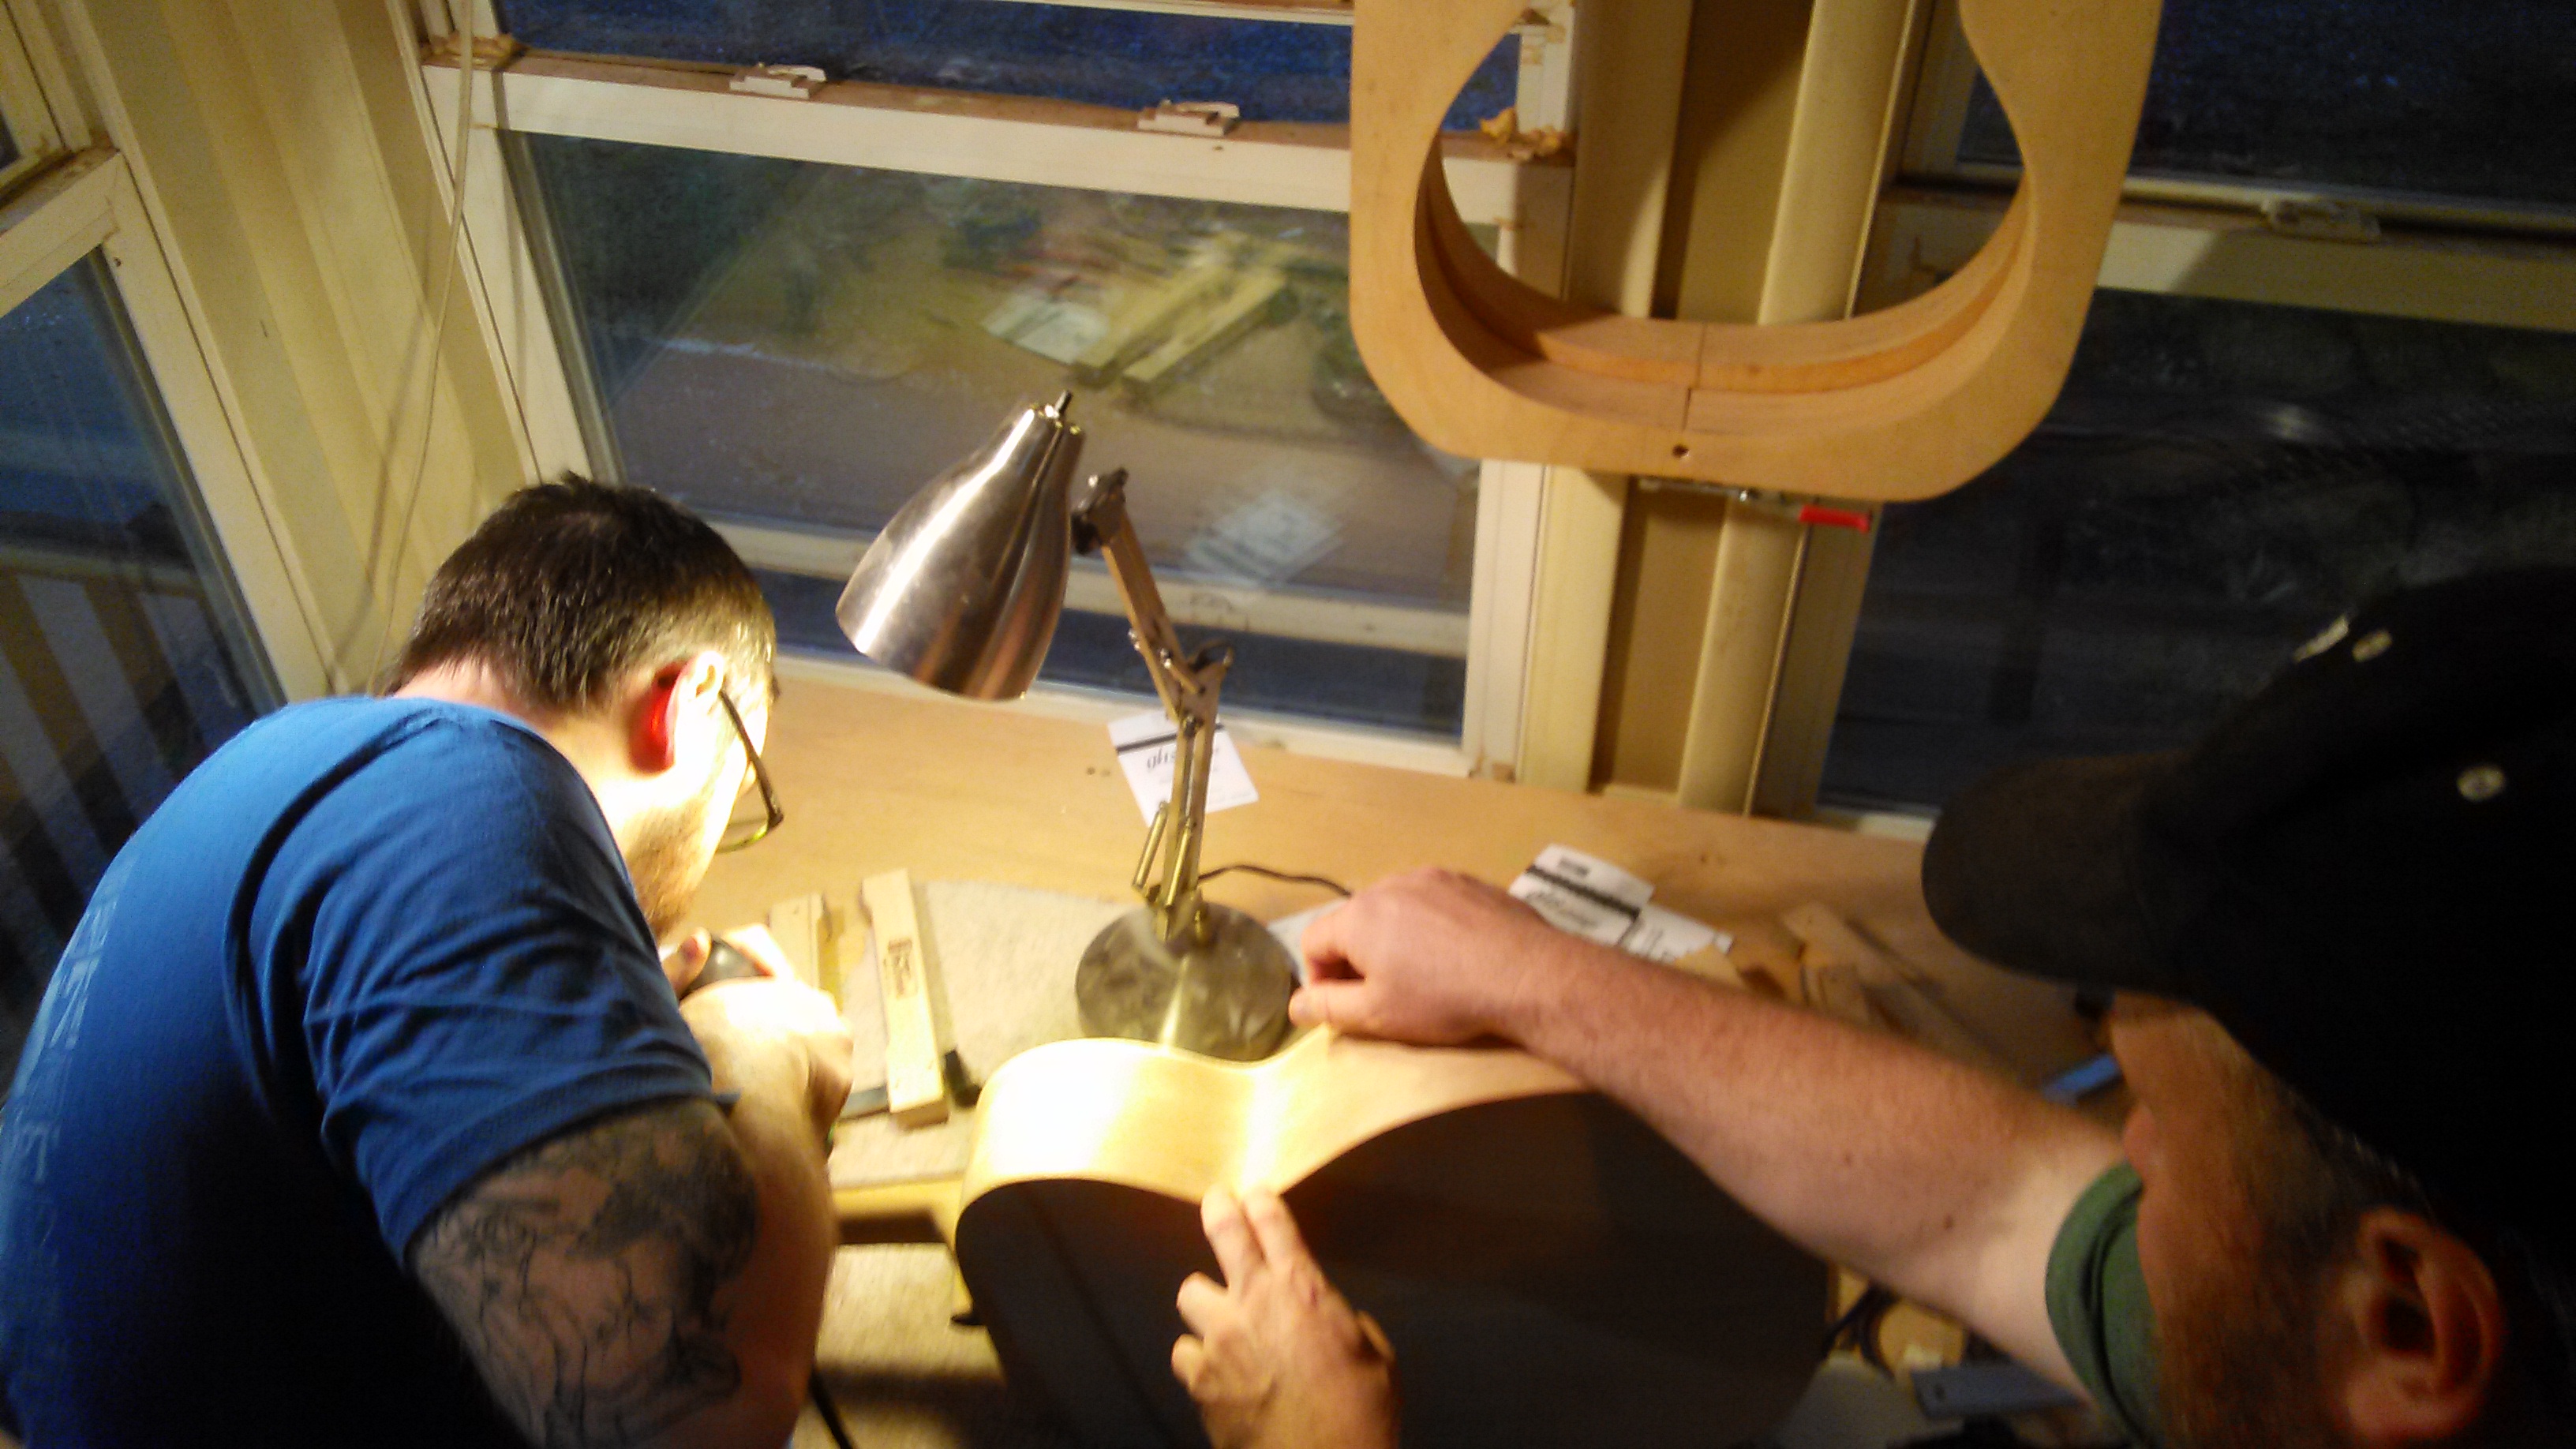
Candle-Lighting
The next step is candle-lighting. This is where we hold the bookmatched pieces together against a backdrop of a light source and check the joint for light seepage.
I simply pop one of the windows in my shop out of its sash and rest it horizontally with one end propped up on the window sill and the other end propped up by a chair. Then I place a desk lamp underneath, facing up towards the window glass. Voila! A simply solution to a light box and it doesn’t take up any additional space in the shop!
Now hold the plates flat against the glass and scrutinize for light seepage.
As you can see in the picture below, there is a lot of light seepage in the upper bout area of the soundboard. The lower bout (not visible in the picture) is a good tight-fitting seam at the moment.
A special note on this seam: It is far more critical that the seam in the lower bout is perfect, than it is that the seam in the upper bout is perfect. The reason is that the seam in the area of the soundhole is going to be cut out and the area above the soundhole is going to be reinforced by the fretboard when it is glued directly over the seam. The area below the soundhole, however, is entirely exposed so, for both structural and cosmetic purposes, we want to be especially meticulous in the area of the lower bout.
Even so, the light seepage in the upper bout pictured below is more than I am comfortable with leaving, so I need to take the plates back to the shooting board. The amount of light seepage that I will allow in the upper bout is not visible on camera.
Light seepage above the soundhole
Place the weight and both halves on the shooting board as before and press together with the jack plane as before, checking the edge for flush with your fingertips. If the edges are not flush every time you return to the shooting board, then you will have erratic results.
Now plane the edge as before, but only plane in the areas where there was not light seepage. ~2-5 passes and then check again. I usually do one full length pass to clean it up before candle-lighting again.
Much better! Note: If you are having trouble getting a good fit with the handplane you may want to consider sticking sandpaper to a good carpenters level as seen in the picture below and “shooting” the level. I keep a carpenter’s level on stand-by with 120 grit on one side and 220 grit on the other just for this purpose. This is often easier than using the handplane for the novice user. However, there is an on-going debate about the structural integrity of sanded joints versus planed joints which I won’t get into here, except to simply say that I fall on the side of the planed joint being the better option.
Cut the Taper
Once the edge is good, tape the edge flush using 3 pieces of low tack tape, such as the blue painter’s tape from painting and hardware stores.
What we want to do next is cut the plates into a tapered wedge shape in preparation for gluing. We will then set our jig to match this tapered shape and tap the plates into place during glue-up.
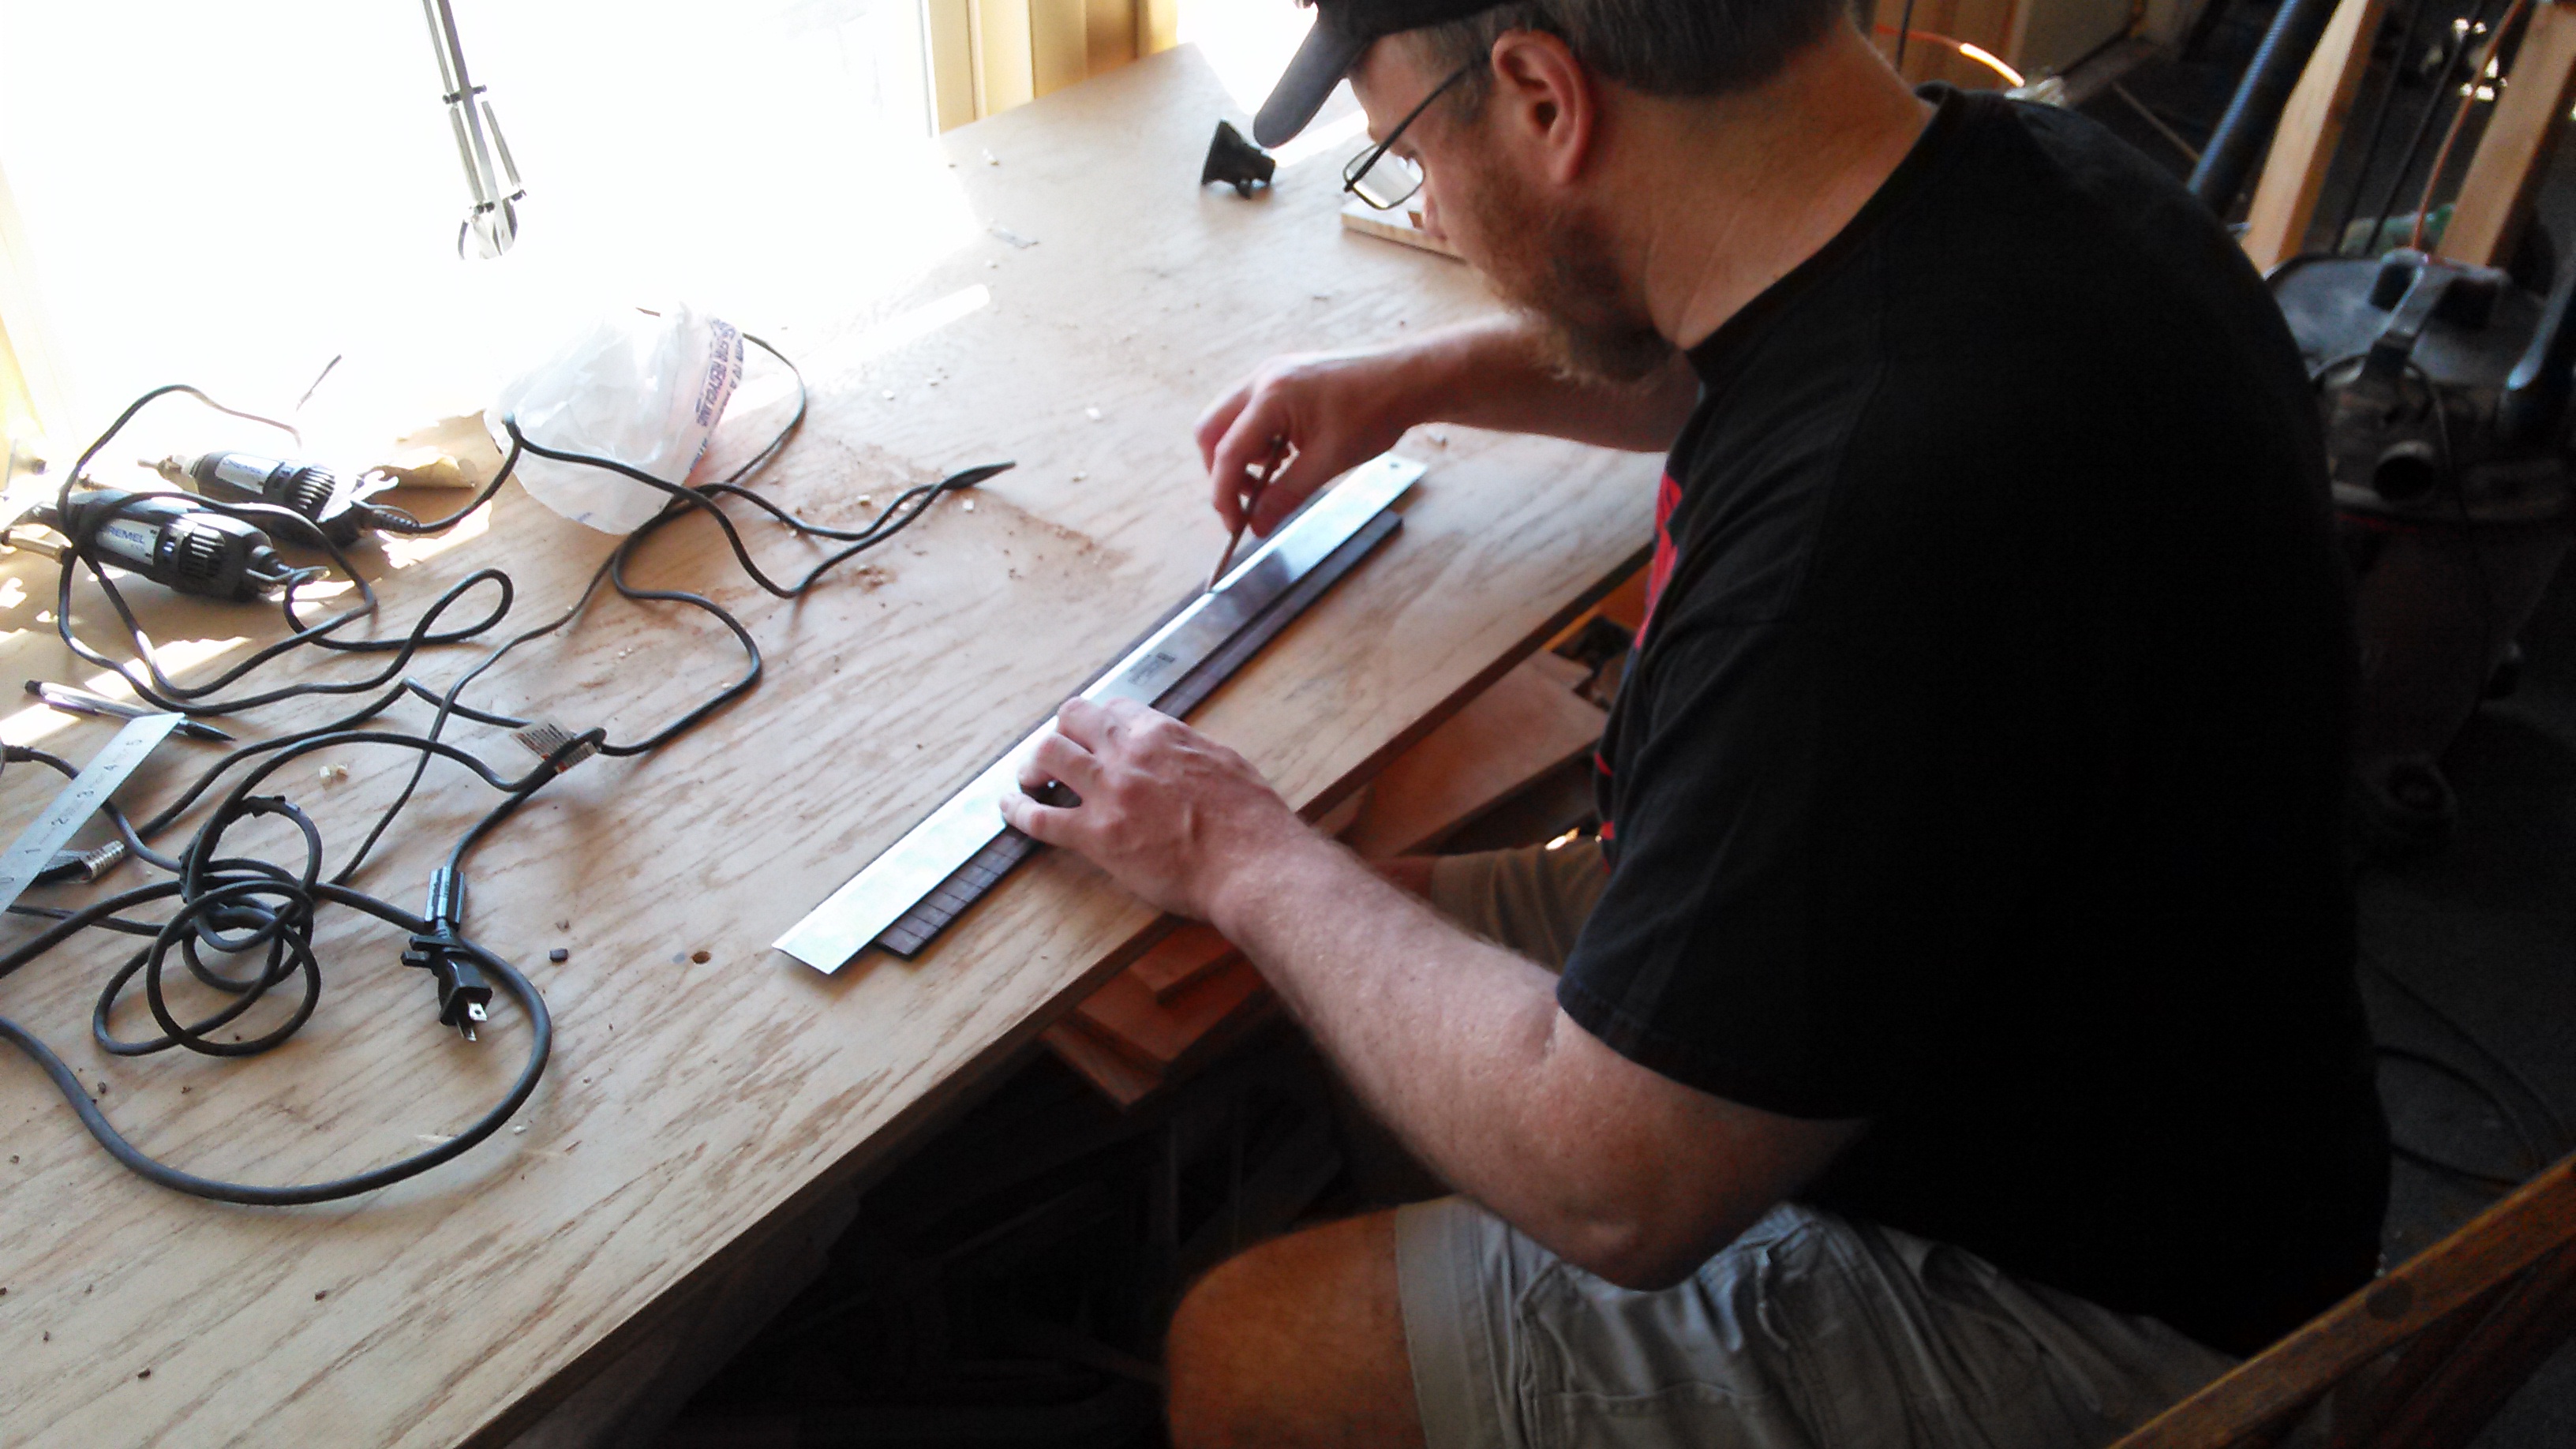
Use a straightedge to trace an angled line in the waste area of the stacked halves (the area outside of your outline).
Marking an angle
Cut freehand close to this line on a table saw or band saw.
The tapered cut
Now clean up the cut on the shooting board with a jack plane. Once the taper is smooth you can remove the tape.
Join the Soundboard
The fixture we will use for glue-up is called the joining board. It is nothing more than a flat, warpage-free plywood board (~24″ x 27″) with a batten screwed to one side. I tape some wax paper to the board in the area where the centerseam will be. This way I don’t glue the soundboard to the joining board!
The Joining Board
Place the two halves to be joined on the joining board against the back stop. Place a straight board of approximately equal length to the back stop against the taper on the other side and clamp with 2 c-clamps as shown below. We have now matched our jig to the tapered shape of the soundboard.
Remove the two halves from the jig. Stack the two halves so that you can spread glue on both edges at the same time. I like to clamp the two halves together with 2 spring clamps just to free up my hands.
Spread Titebond glue on the edge with your fingertips. Make sure that there is adequate glue across the entire joint on both halves. If you spread too much glue then you will have a bit of a mess to clean up when it squeezes out, but if you spread too little you create a starved joint that may fail. It is always safer to err on the side of too much.
Now place the two halves back into position on the joining board with wax paper and some hefty weights on top. The weights keep the halves from flexing and popping out of place when we tap them in.
Now you need a hammer or mallet and a small block ( I hope you read through this ahead of time and are not now scrambling for tools!).
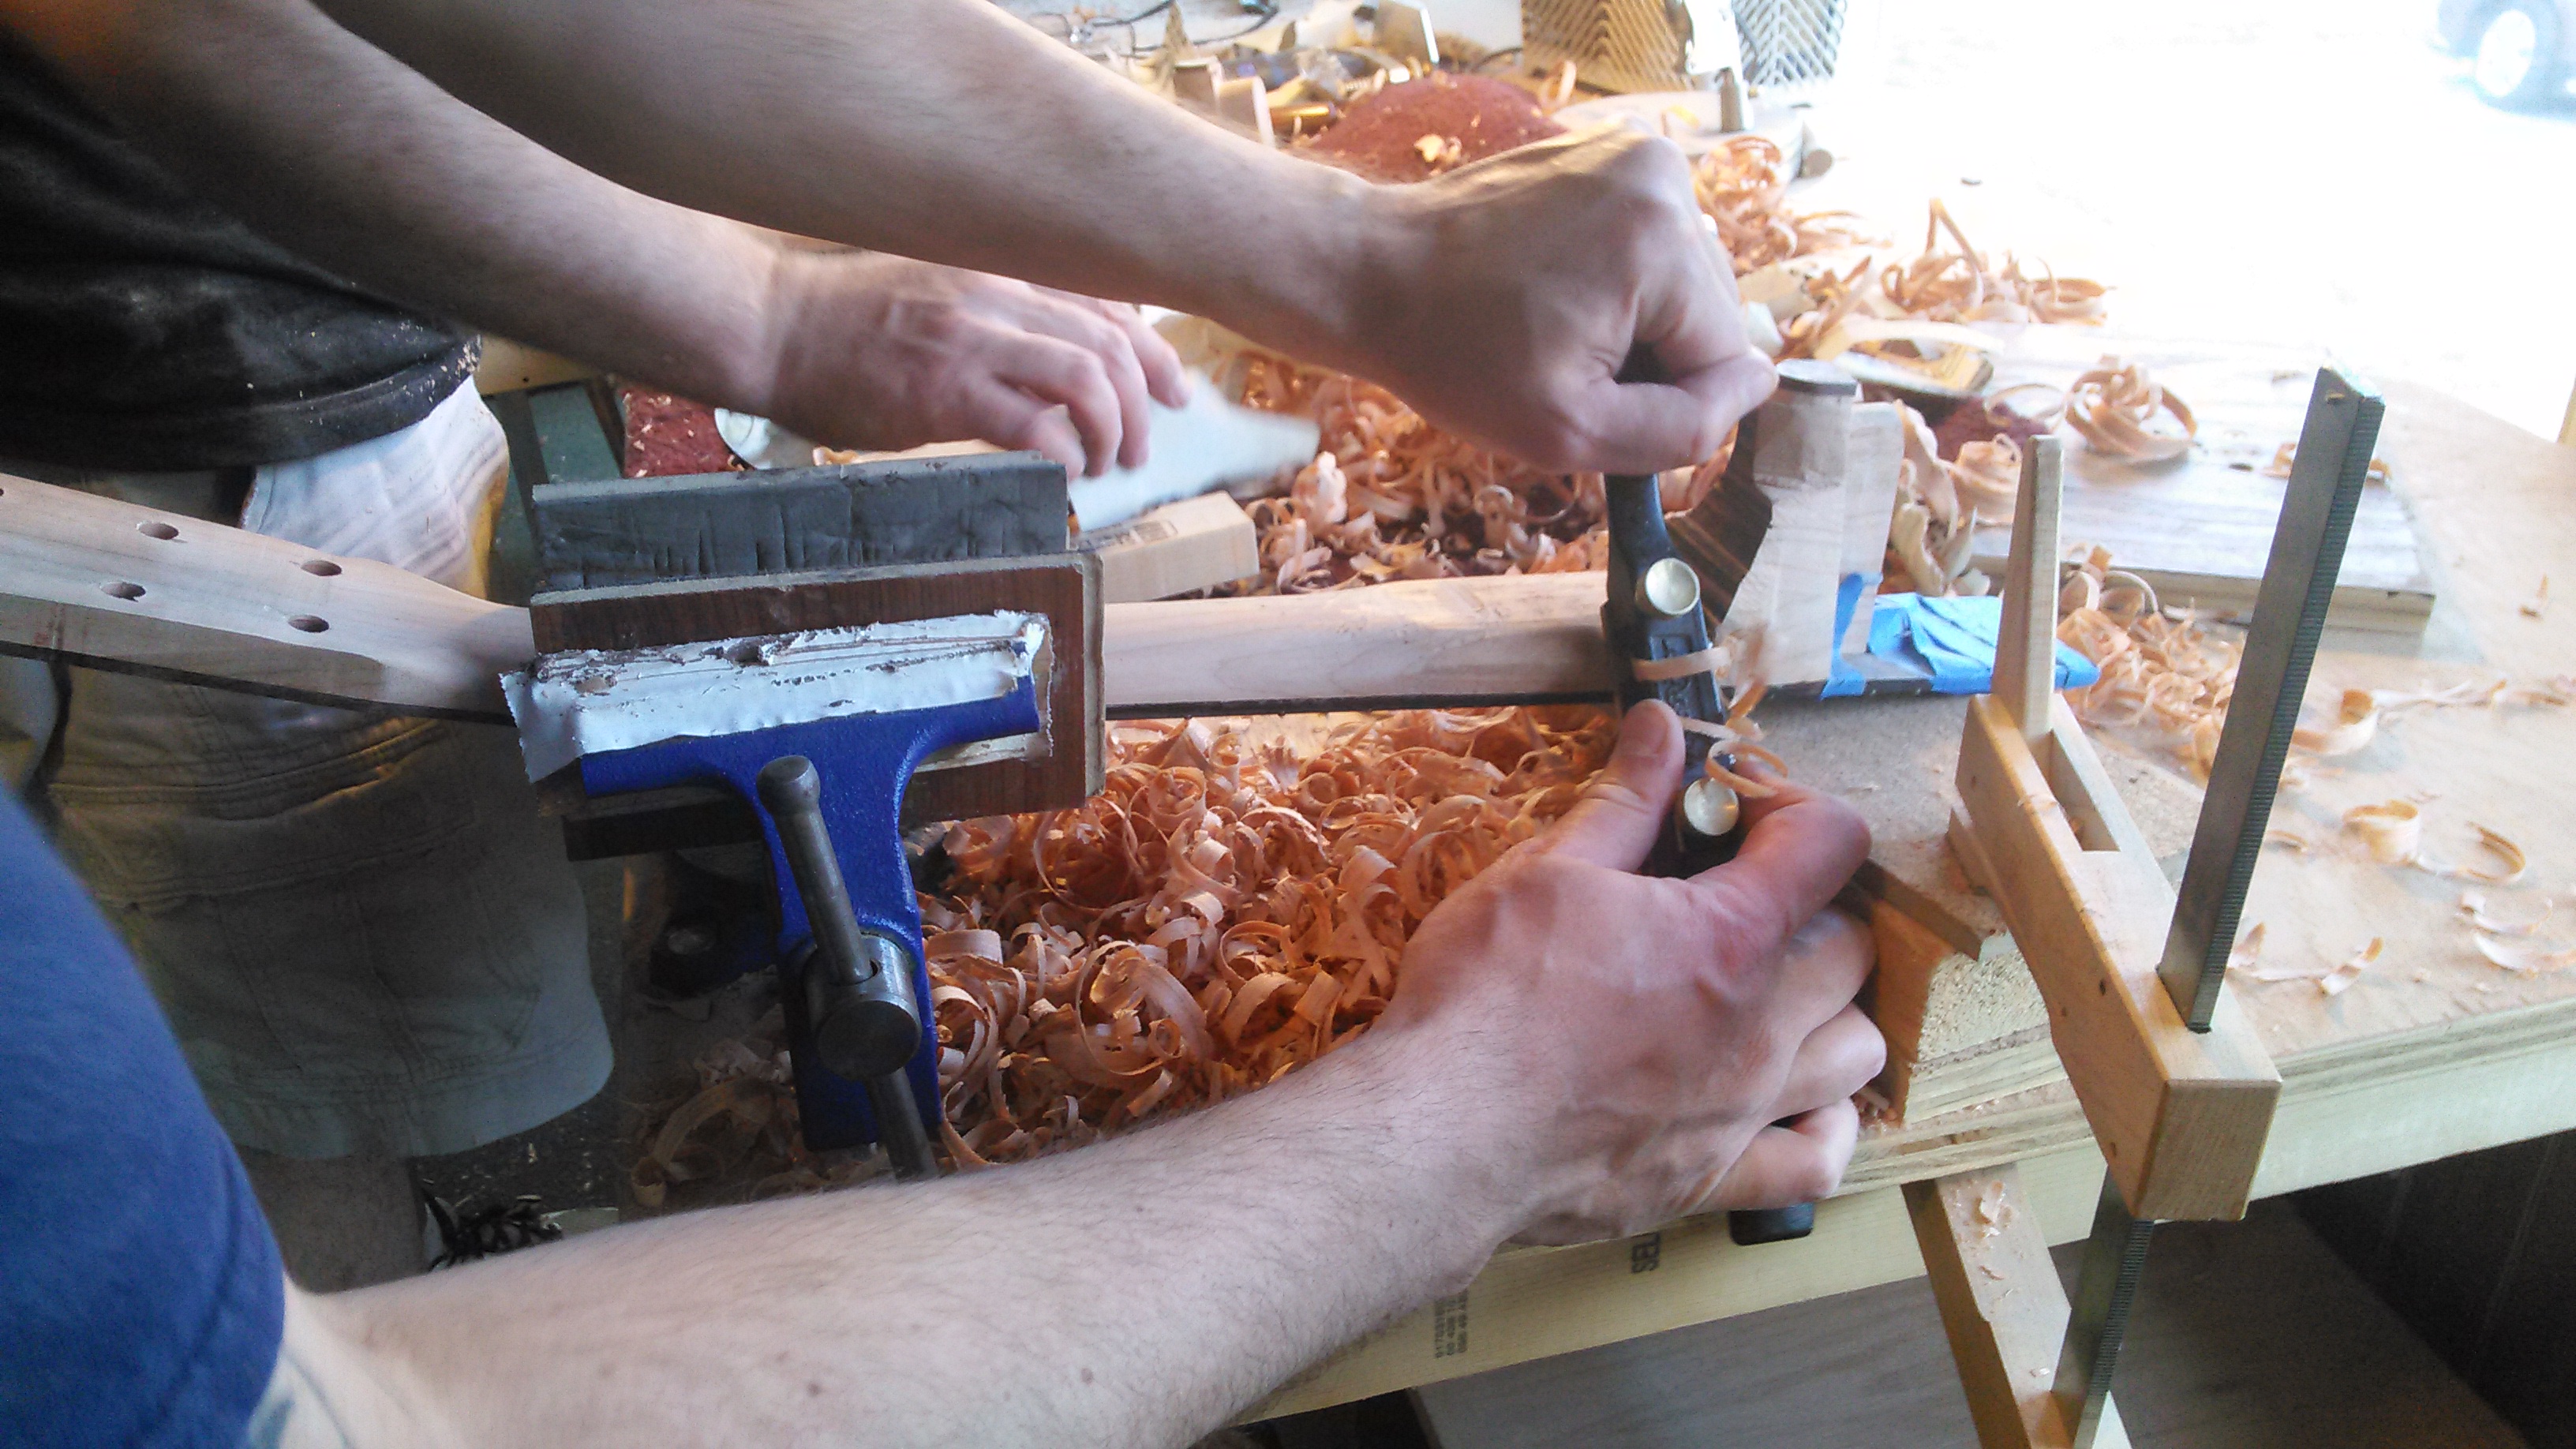
Using the small block against the end of the seam to distribute pressure to both halves, tap the soundboard very lightly into the tapered form. Just a few easy, light taps should provide adequate clamping pressure. Don’t just hammer away until you hear something snap!
Tapping the plates into the tapered form. If I didn’t need it to take this picture, my other hand would be steadying the block!
Place additional weights as needed in areas where one half is not sitting flush to the other.
Let dry for atleast 45 minutes.
When you are ready to remove the soundboard, do not remove the weights first! This can cause the soundboard to buckle. First remove the C-clamps and the straight board, then you can lift the weights.
Want more of this? Subscribe below for Weekly Guitar Making Tips:


![IMG_20150922_163722[1]](https://ericschaeferguitars.com/wp-content/uploads/2015/09/IMG_20150922_1637221.jpg)
![IMG_20150922_163634[1]](https://ericschaeferguitars.com/wp-content/uploads/2015/09/IMG_20150922_1636341.jpg)
![IMG_20150927_220123[1]](https://ericschaeferguitars.com/wp-content/uploads/2015/09/IMG_20150927_2201231.jpg)
![IMG_20150921_103303[1]](https://ericschaeferguitars.com/wp-content/uploads/2015/09/IMG_20150921_1033031.jpg)
![IMG_20150928_115803[1]](https://ericschaeferguitars.com/wp-content/uploads/2015/09/IMG_20150928_1158031.jpg)
![IMG_20150921_113709[1]](https://ericschaeferguitars.com/wp-content/uploads/2015/09/IMG_20150921_1137091.jpg)
![IMG_20150921_120600[1]](https://ericschaeferguitars.com/wp-content/uploads/2015/09/IMG_20150921_1206001.jpg)

![IMG_20150921_133444[1]](https://ericschaeferguitars.com/wp-content/uploads/2015/09/IMG_20150921_1334441.jpg)
![IMG_20150921_135738[1]](https://ericschaeferguitars.com/wp-content/uploads/2015/09/IMG_20150921_1357381.jpg)
![IMG_20150921_140229[1]](https://ericschaeferguitars.com/wp-content/uploads/2015/09/IMG_20150921_1402291.jpg)
![IMG_20150922_163600[1]](https://ericschaeferguitars.com/wp-content/uploads/2015/09/IMG_20150922_1636001.jpg)
![IMG_20150922_164128[1]](https://ericschaeferguitars.com/wp-content/uploads/2015/09/IMG_20150922_1641281.jpg)
![IMG_20150923_130732[1]](https://ericschaeferguitars.com/wp-content/uploads/2015/09/IMG_20150923_1307321.jpg)


![IMG_20150904_144554[1]](https://ericschaeferguitars.com/wp-content/uploads/2015/09/IMG_20150904_1445541.jpg)


![IMG_20150813_164702[1]](https://ericschaeferguitars.com/wp-content/uploads/2015/09/IMG_20150813_1647021.jpg)
![IMG_20150816_231147[1]](https://ericschaeferguitars.com/wp-content/uploads/2015/09/IMG_20150816_2311471.jpg)
![IMG_20150816_231253[1]](https://ericschaeferguitars.com/wp-content/uploads/2015/09/IMG_20150816_2312531.jpg)
![IMG_20150817_002033[1]](https://ericschaeferguitars.com/wp-content/uploads/2015/09/IMG_20150817_0020331.jpg)
![IMG_20150817_003429[1]](https://ericschaeferguitars.com/wp-content/uploads/2015/09/IMG_20150817_0034291.jpg)
![IMG_20150817_003549[1]](https://ericschaeferguitars.com/wp-content/uploads/2015/09/IMG_20150817_0035491.jpg)
![IMG_20150817_004533[1]](https://ericschaeferguitars.com/wp-content/uploads/2015/09/IMG_20150817_0045331.jpg)
![IMG_20150817_005617[1]](https://ericschaeferguitars.com/wp-content/uploads/2015/09/IMG_20150817_0056171.jpg)
![IMG_20150817_005844[1]](https://ericschaeferguitars.com/wp-content/uploads/2015/09/IMG_20150817_0058441.jpg)
![IMG_20150817_012555[1]](https://ericschaeferguitars.com/wp-content/uploads/2015/09/IMG_20150817_0125551.jpg)
![IMG_20150811_152409[1]](https://ericschaeferguitars.com/wp-content/uploads/2015/09/IMG_20150811_1524091-e1441334424586.jpg)
![IMG_20150903_224458[1]](https://ericschaeferguitars.com/wp-content/uploads/2015/09/IMG_20150903_2244581.jpg)
![IMG_20150903_230009[1]](https://ericschaeferguitars.com/wp-content/uploads/2015/09/IMG_20150903_2300091.jpg)
![IMG_20150903_230247[1]](https://ericschaeferguitars.com/wp-content/uploads/2015/09/IMG_20150903_2302471.jpg)
![IMG_20150811_154031[1]](https://ericschaeferguitars.com/wp-content/uploads/2015/09/IMG_20150811_1540311.jpg)
![IMG_20150811_154244[1]](https://ericschaeferguitars.com/wp-content/uploads/2015/09/IMG_20150811_1542441-e1441336621340.jpg)
![IMG_20150811_154509[1]](https://ericschaeferguitars.com/wp-content/uploads/2015/09/IMG_20150811_1545091.jpg)
![IMG_20150903_232657[1]](https://ericschaeferguitars.com/wp-content/uploads/2015/09/IMG_20150903_2326571.jpg)
![IMG_20150812_141113[1]](https://ericschaeferguitars.com/wp-content/uploads/2015/09/IMG_20150812_1411131.jpg)
![IMG_20150812_141550[1]](https://ericschaeferguitars.com/wp-content/uploads/2015/09/IMG_20150812_1415501.jpg)
![IMG_20150812_145052[1]](https://ericschaeferguitars.com/wp-content/uploads/2015/09/IMG_20150812_1450521-e1441337949342.jpg)
![IMG_20150812_142341[1]](https://ericschaeferguitars.com/wp-content/uploads/2015/09/IMG_20150812_1423411.jpg)
![IMG_20150812_142334[1]](https://ericschaeferguitars.com/wp-content/uploads/2015/09/IMG_20150812_1423341.jpg)
![IMG_20150812_142955[1]](https://ericschaeferguitars.com/wp-content/uploads/2015/09/IMG_20150812_1429551-e1441339629954.jpg)
![IMG_20150812_142810[1]](https://ericschaeferguitars.com/wp-content/uploads/2015/09/IMG_20150812_1428101.jpg)
![IMG_20150812_145832[1]](https://ericschaeferguitars.com/wp-content/uploads/2015/09/IMG_20150812_1458321.jpg)
![IMG_20150812_152052[1]](https://ericschaeferguitars.com/wp-content/uploads/2015/09/IMG_20150812_1520521.jpg)
![IMG_20150812_153227[1]](https://ericschaeferguitars.com/wp-content/uploads/2015/09/IMG_20150812_1532271.jpg)
![IMG_20150812_153738[1]](https://ericschaeferguitars.com/wp-content/uploads/2015/09/IMG_20150812_1537381.jpg)
![IMG_20150812_154605[1]](https://ericschaeferguitars.com/wp-content/uploads/2015/09/IMG_20150812_1546051.jpg)
![IMG_20150904_004649[1]](https://ericschaeferguitars.com/wp-content/uploads/2015/09/IMG_20150904_0046491.jpg)
![IMG_20150812_161032[1]](https://ericschaeferguitars.com/wp-content/uploads/2015/09/IMG_20150812_1610321.jpg)


![IMG_20150903_192252[1]](https://ericschaeferguitars.com/wp-content/uploads/2015/09/IMG_20150903_1922521.jpg)

![IMG_20150508_003256[1]](https://ericschaeferguitars.com/wp-content/uploads/2015/05/IMG_20150508_0032561-1024x576.jpg)
![IMG_20150508_032301[1]](https://ericschaeferguitars.com/wp-content/uploads/2015/05/IMG_20150508_0323011.jpg)
![IMG_20150508_003510[1]](https://ericschaeferguitars.com/wp-content/uploads/2015/05/IMG_20150508_0035101-1024x576.jpg)
![IMG_20150508_015441[1]](https://ericschaeferguitars.com/wp-content/uploads/2015/05/IMG_20150508_0154411.jpg)
![IMG_20150508_005918[1]](https://ericschaeferguitars.com/wp-content/uploads/2015/05/IMG_20150508_0059181.jpg)
![IMG_20150508_003533[1]](https://ericschaeferguitars.com/wp-content/uploads/2015/05/IMG_20150508_0035331.jpg)
![IMG_20150508_005120[1]](https://ericschaeferguitars.com/wp-content/uploads/2015/05/IMG_20150508_0051201.jpg)
![IMG_20150508_005256[1]](https://ericschaeferguitars.com/wp-content/uploads/2015/05/IMG_20150508_0052561.jpg)
![IMG_20150508_013721[1]](https://ericschaeferguitars.com/wp-content/uploads/2015/05/IMG_20150508_0137211.jpg)
![IMG_20150923_143316[1]](https://ericschaeferguitars.com/wp-content/uploads/2015/09/IMG_20150923_1433161.jpg)
![IMG_20150508_014542[1]](https://ericschaeferguitars.com/wp-content/uploads/2015/05/IMG_20150508_0145421.jpg)
![IMG_20150508_014829[1]](https://ericschaeferguitars.com/wp-content/uploads/2015/05/IMG_20150508_0148291-576x1024.jpg)
![IMG_20150508_015127[1]](https://ericschaeferguitars.com/wp-content/uploads/2015/05/IMG_20150508_0151271-576x1024.jpg)
![IMG_20150508_015754[1]](https://ericschaeferguitars.com/wp-content/uploads/2015/05/IMG_20150508_0157541.jpg)
![IMG_20150508_020309[1]](https://ericschaeferguitars.com/wp-content/uploads/2015/05/IMG_20150508_0203091.jpg)
![IMG_20150508_021034[1]](https://ericschaeferguitars.com/wp-content/uploads/2015/05/IMG_20150508_0210341.jpg)
![IMG_20150508_021420[1]](https://ericschaeferguitars.com/wp-content/uploads/2015/05/IMG_20150508_0214201-1024x576.jpg)
![IMG_20150508_021409[1]](https://ericschaeferguitars.com/wp-content/uploads/2015/05/IMG_20150508_0214091-1024x576.jpg)